How to set Opening Hours to your CalendarApp Events
Most likely you are not available 24/7 for your customer. That’s why almost every business has opening hours. To make sure your customers cannot schedule an appointment with the CalendarApp that falls outside your available working hours you can apply opening hours. The CalendarApp supports four different kinds to set your business hours.
If you don’t have a CalendarApp account yet sign up for free!
It might be rare but not unlikely that you run a business that is open 24/7. Let’s say you run a 7 Eleven store in New York city offering deliveries. In this case you don’t need to take any further actions. In your CalendarApp calendar all available time slots are presented to your customers to choose from.
2. Set Opening Hours in a calendar
More likely you do have opening hours. In order to apply business hours to the CalendarApp you have to create events in your Google Calendars at those times you are not available at. Let’s imagine you are a solo entrepreneur who offers 1:1 consulting sessions using the CalendarApp. Your availability is a typical 9-5 on weekdays.
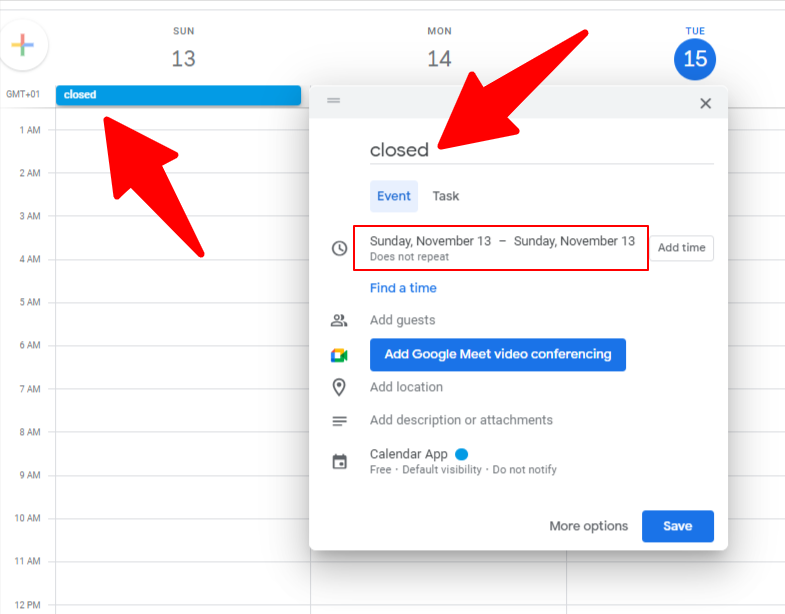
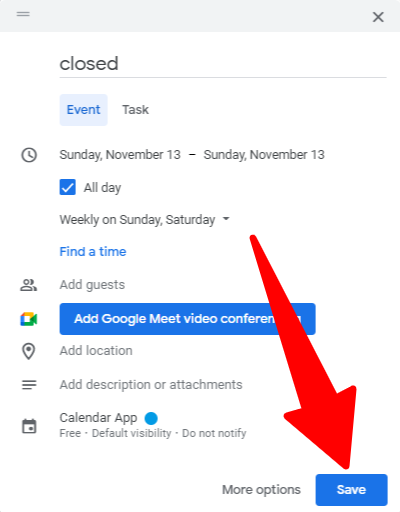
a) Open your Google Calendar and create an all day event on Sunday
b) Name the event, for instance, closed.
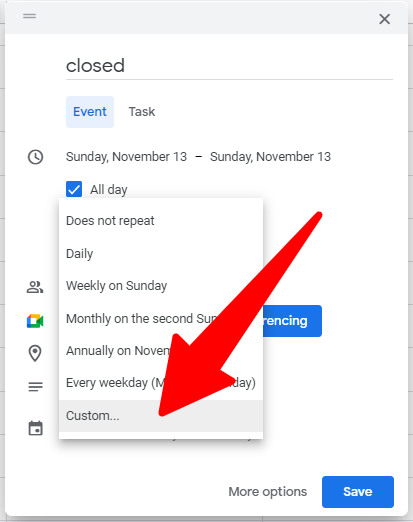
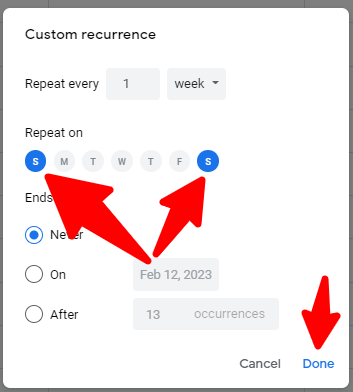
c) Next click on does not repeat and custom. Select S and S for Saturday and Sunday. Click DONE
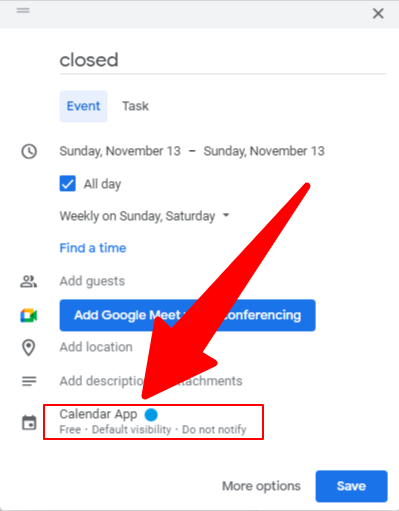
d) Make sure you add the recurring events to the same calendar that you selected in your CalendarApp event.
e) Save your event
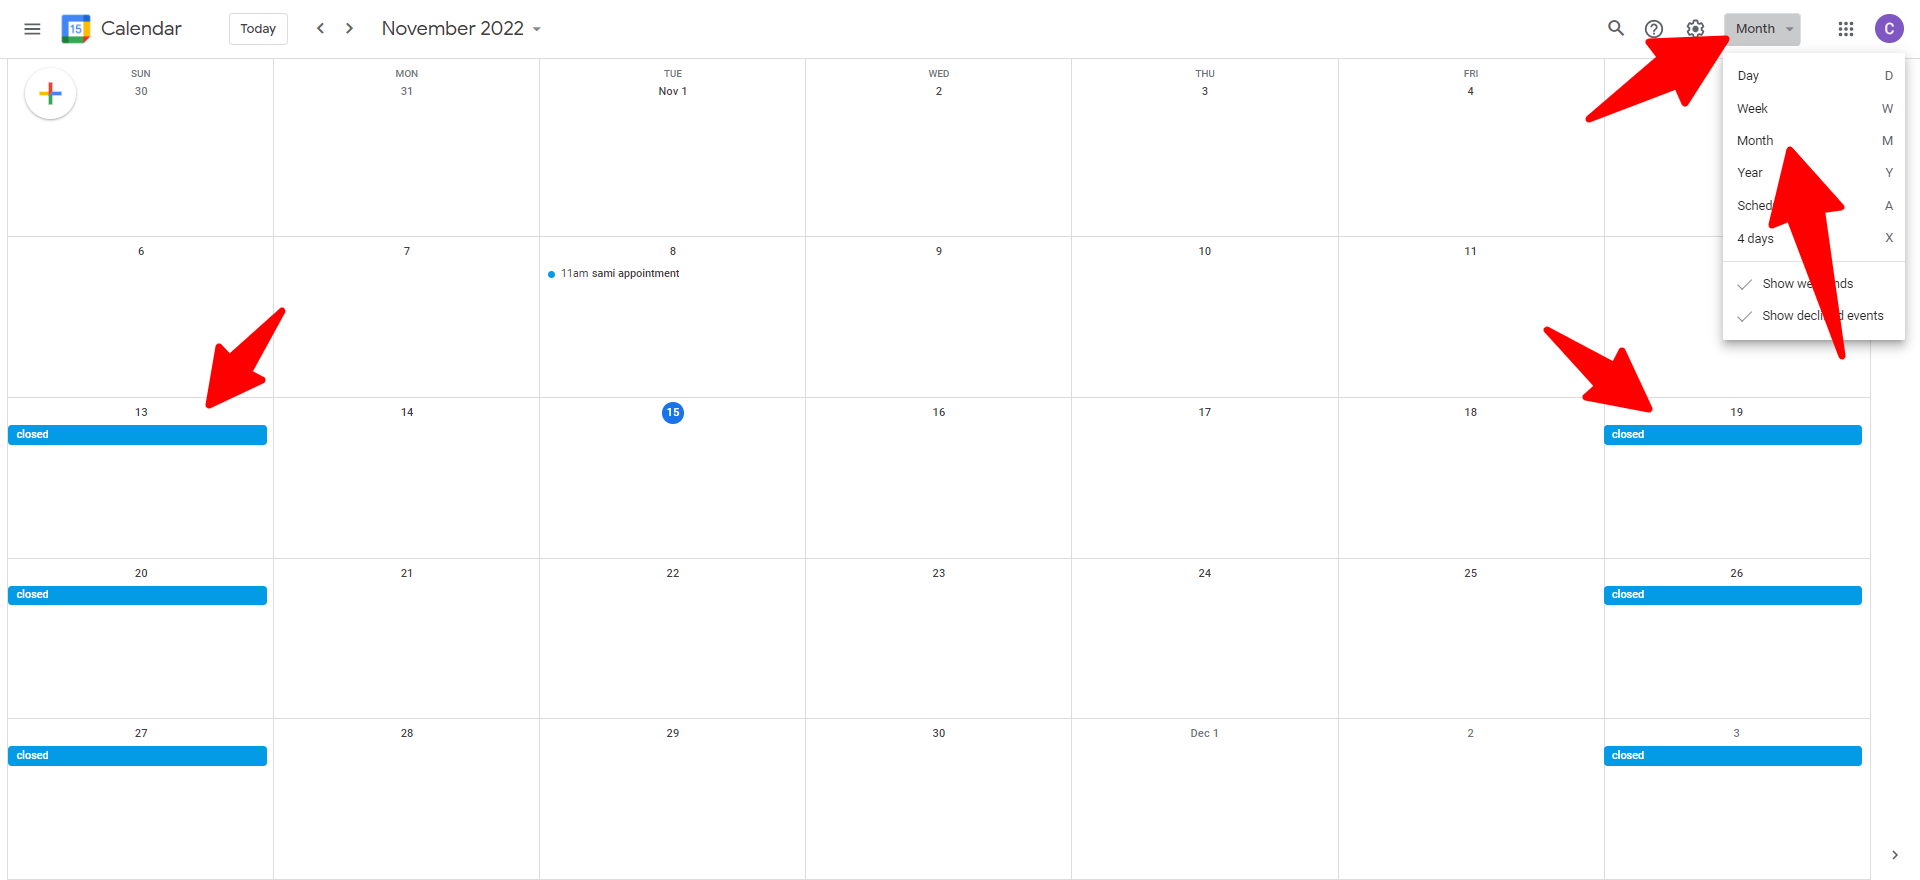
If you switch to the view month you will notice that all weekends have an all day event.
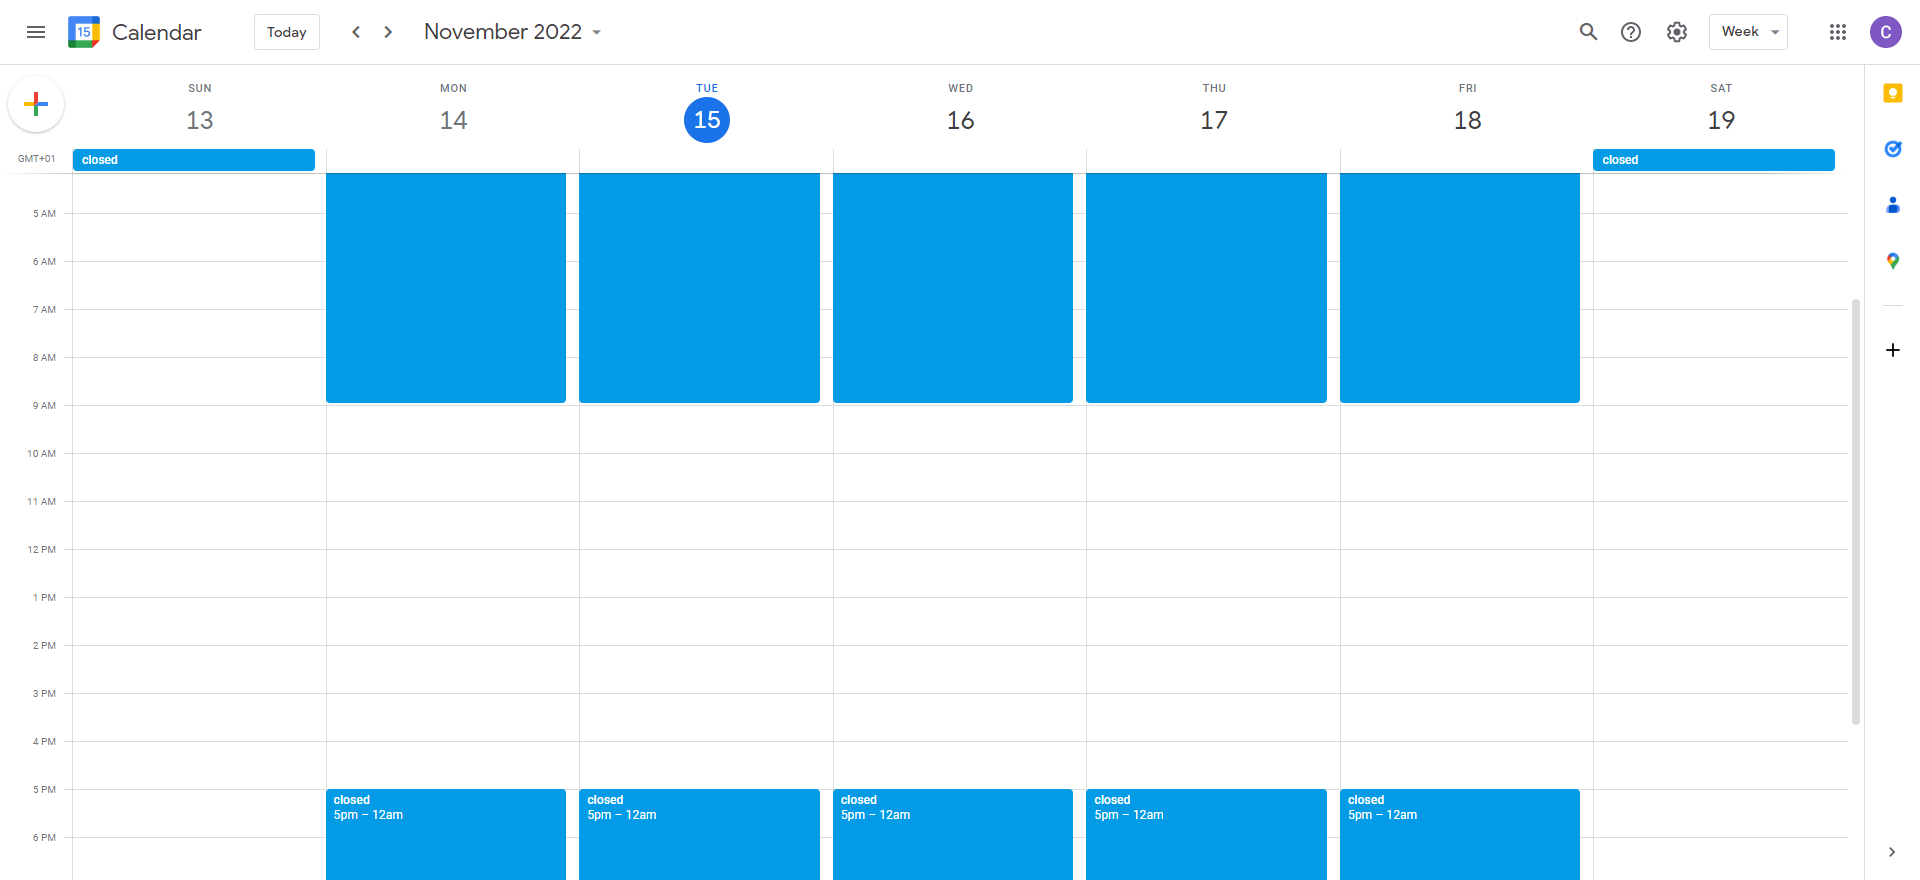
In order to set opening hours for your weekends create an event from 12AM to 9AM and name it closed. Again click on does not repeat and select Every weekday (Monday to Friday). Click Save to create your recurring event.
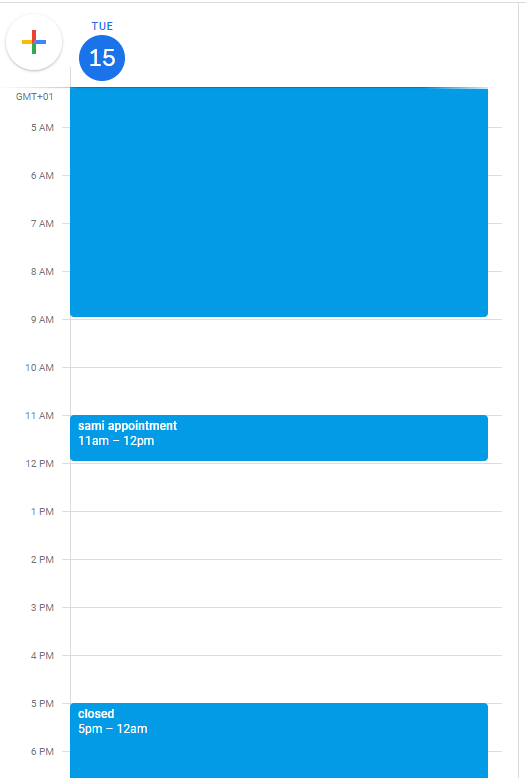
Repeat the last step for the times between 5PM and 12AM. You will end up with a calendar which looks like this.
Now, only at the marked area customers can schedule an appointment with you.
Appointments that your customers schedule with you will show up in the same calendar.
3. Use one calendar to apply opening hours to all calendars
You have just applied opening hours to the calendar you schedule your appointments in. Even though this solution works fine it might not be the best solution in some cases.
For example, saving your appointments and opening hours in the same calendar could irritate you. If you kept everything separate you could toggle your working hours off if you don’t need to view them.
Another disadvantage is the amount of work you have to do in case you have multiple calendars with the same opening hours. For instance, if you own a restaurant and use the CalendarApp to book tables you have to apply the same opening hours to each table. Since the average restaurant has more than 15 tables this will take forever.
Luckily you can use one calendar to apply business hours to all other calendars used in your CalendarApp event.
To apply opening hours:
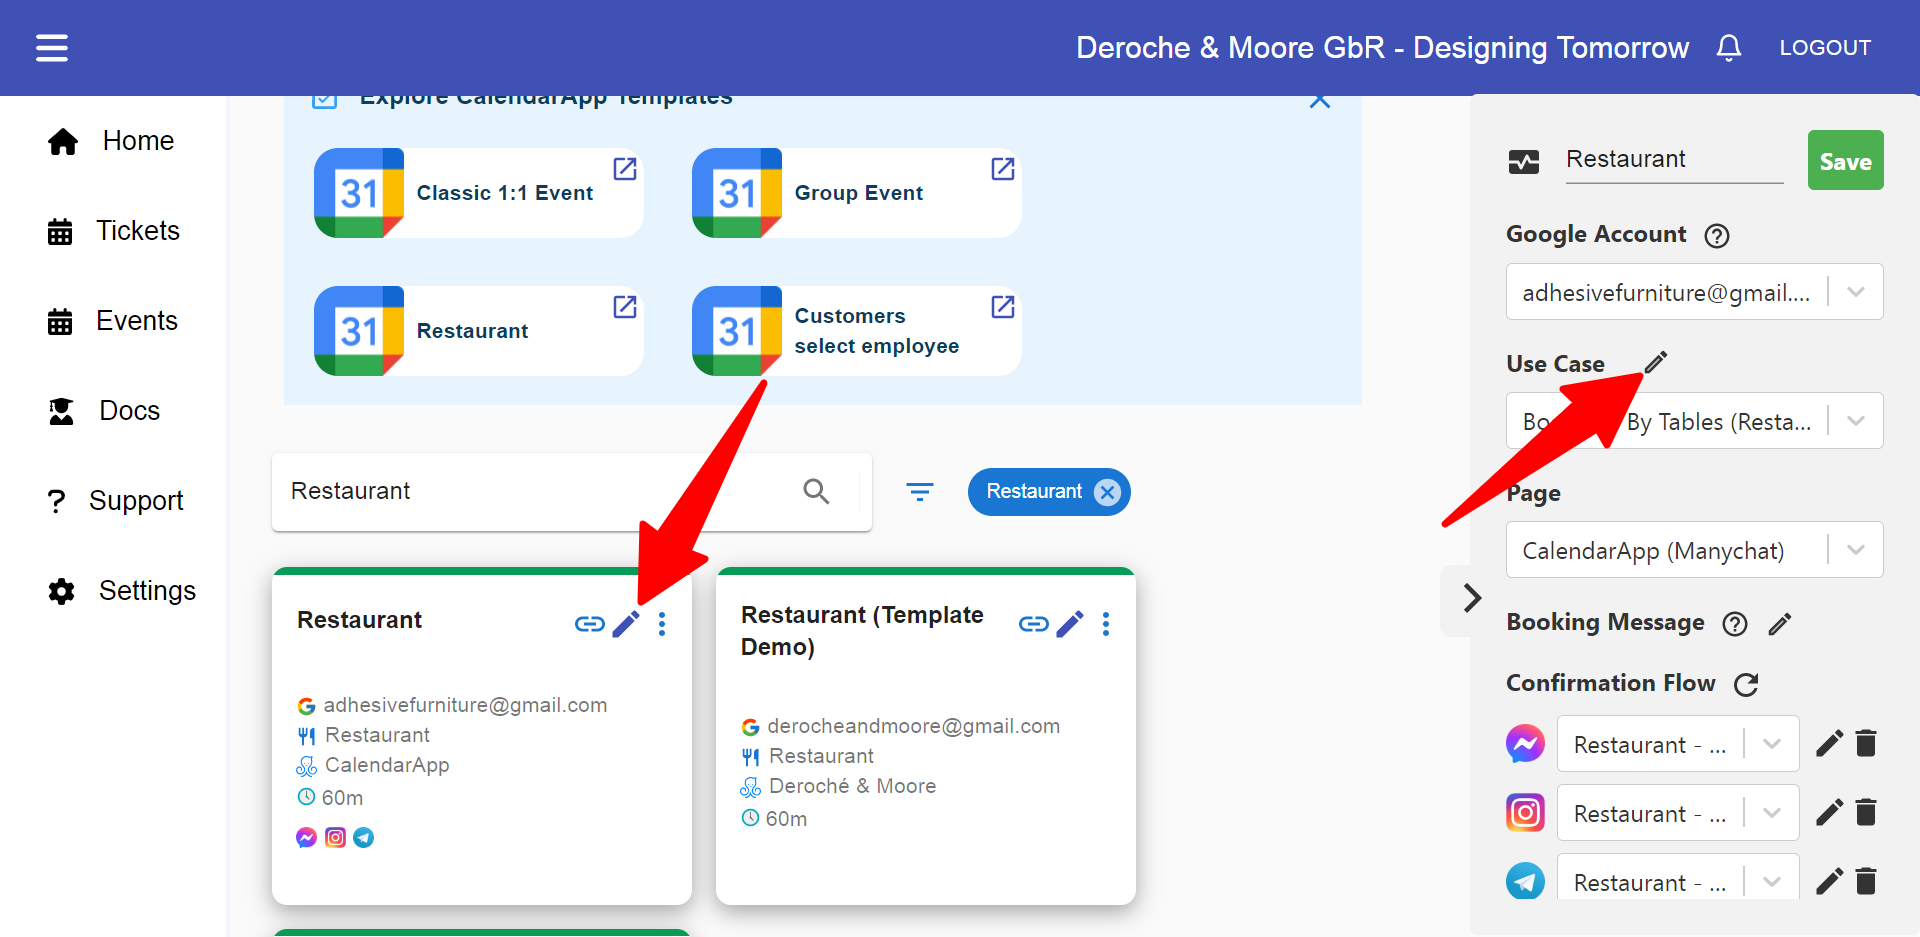
Open the use case settings of your CalendarApp event
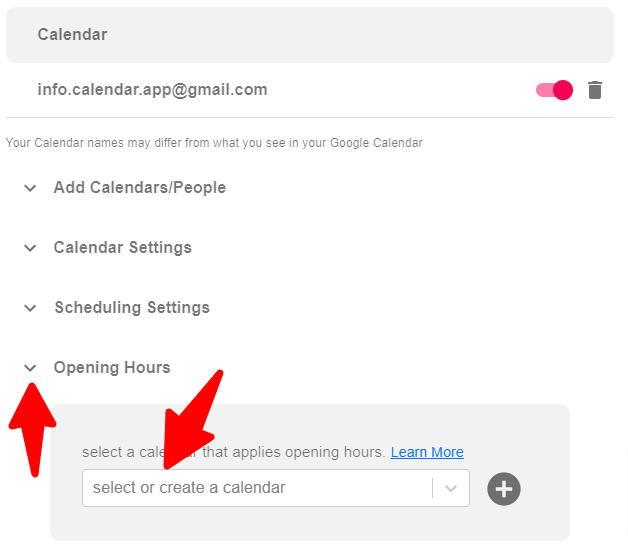
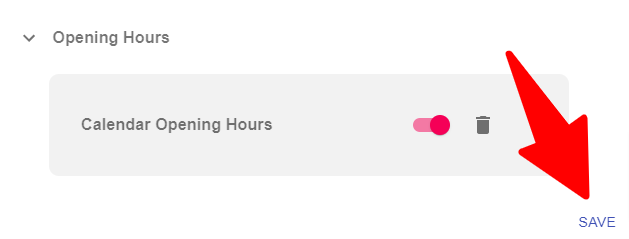
Click on the arrow next to opening hours in the event settings of your use case
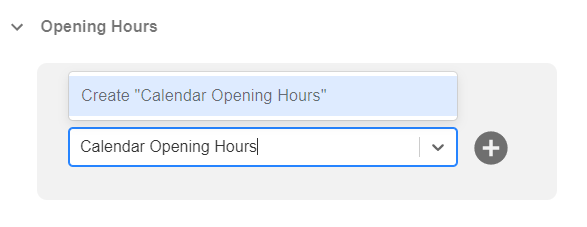
Select a calendar from the dropdown or create a new calendar
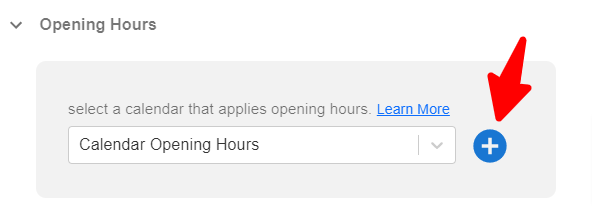
Click + to add the calendar as your calendar that applies opening hours
Save your changes
In this example we create the following business hours for a restaurant: Monday closed, Tuesday – Sunday 11AM – 9PM Read more about our restaurant CalendarApp use case here.
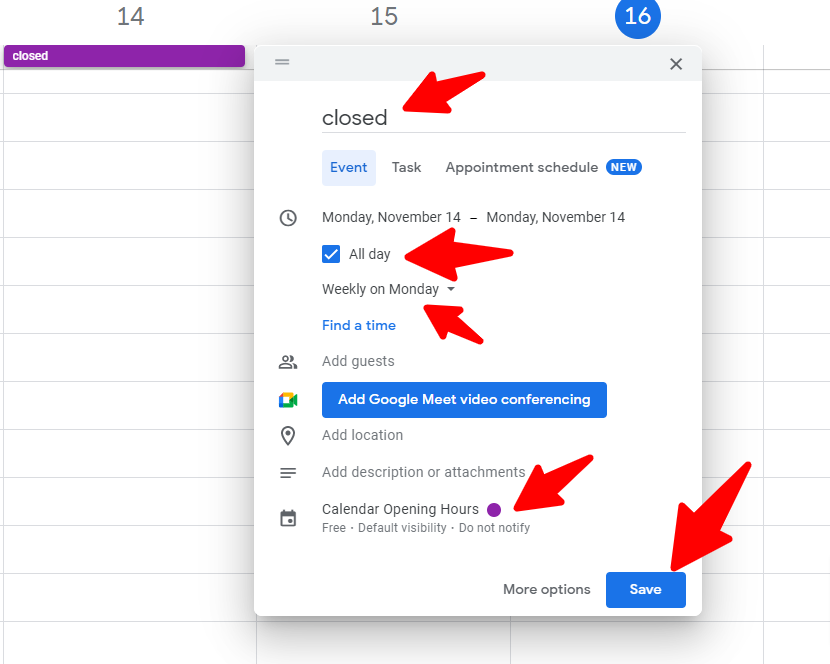
To create your opening hours open the Google Calendar:
Create an all day event on Monday
Click on does not repeat and select every monday
Name your event closed
Save your event
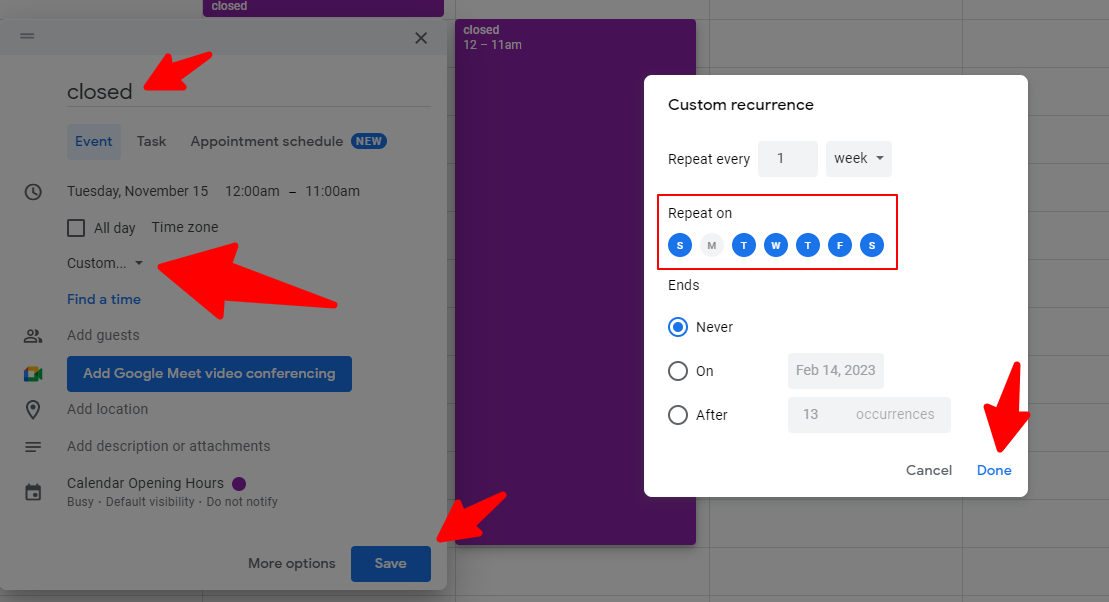
To make sure no tables can be booked during 12AM and 11AM:
Create an event from 12AM to 11AM
Click on does not repeat and select custom
Select all days apart from Sunday
Name your event closed
Save your event
Repeat the last step and create an event from 9PM to 12AM.
Now, if you book a table for your restaurant you will only be able to book it within the opening hours.
4. Combination of No.2 and No.3
In some cases using option 3 or option 4 might not be very helpful. Especially, if you have some days which apply to all calendars and some days with different opening hours. Let’s assume you work in sales and your sales team contains a total of 5 people. While all of you might not work on Sunday, team member 1 starts his shift earlier than team member 5.
To take this into account the CalendarApp offers you flexibility when applying opening hours. You can create recurring Events for every calendar and also add one calendar that contains those hours which are added to every calendar.
So, your Google Calendar looks like this while every team member’s working hours are respected by the CalendarApp. No sales person will receive a booking at a time where they are unavailable.
If you have any questions watch our video tutorial or submit a support ticket.