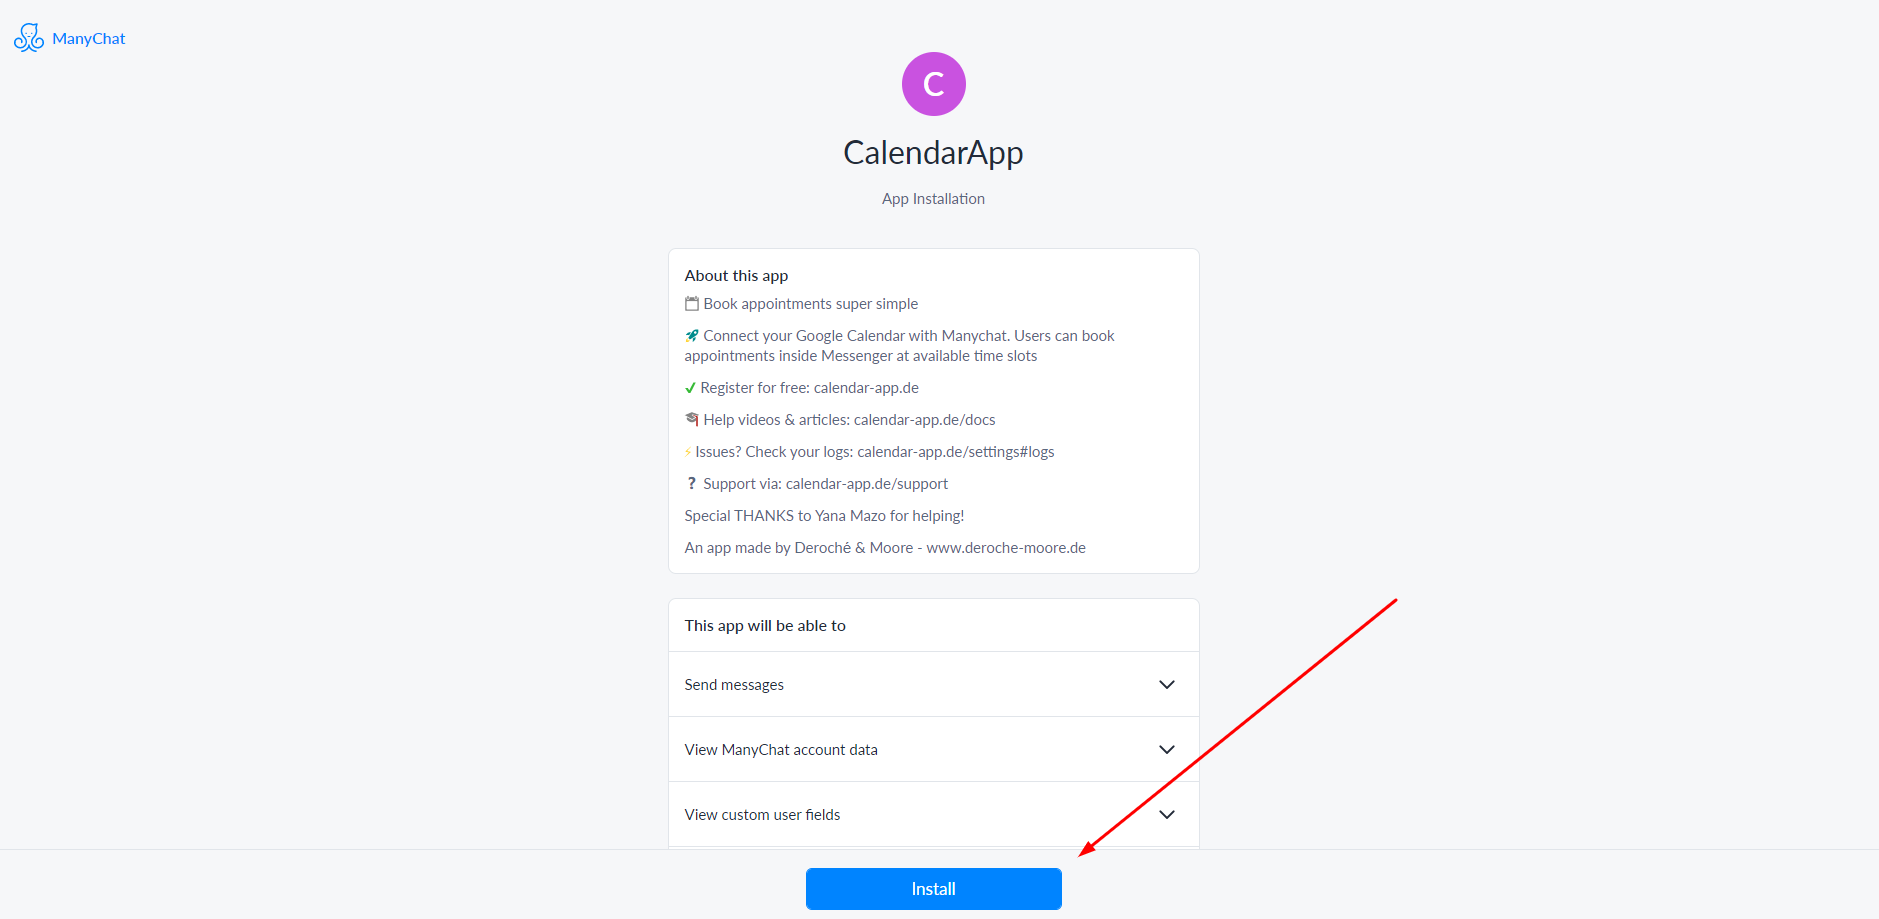
Finally it’s here: a Manychat App that lets you schedule appointments across all channels using your Google Calendar. You will no longer require third party tools such as Zapier, Integromat, Calendly. Introducing: the CalendarApp.
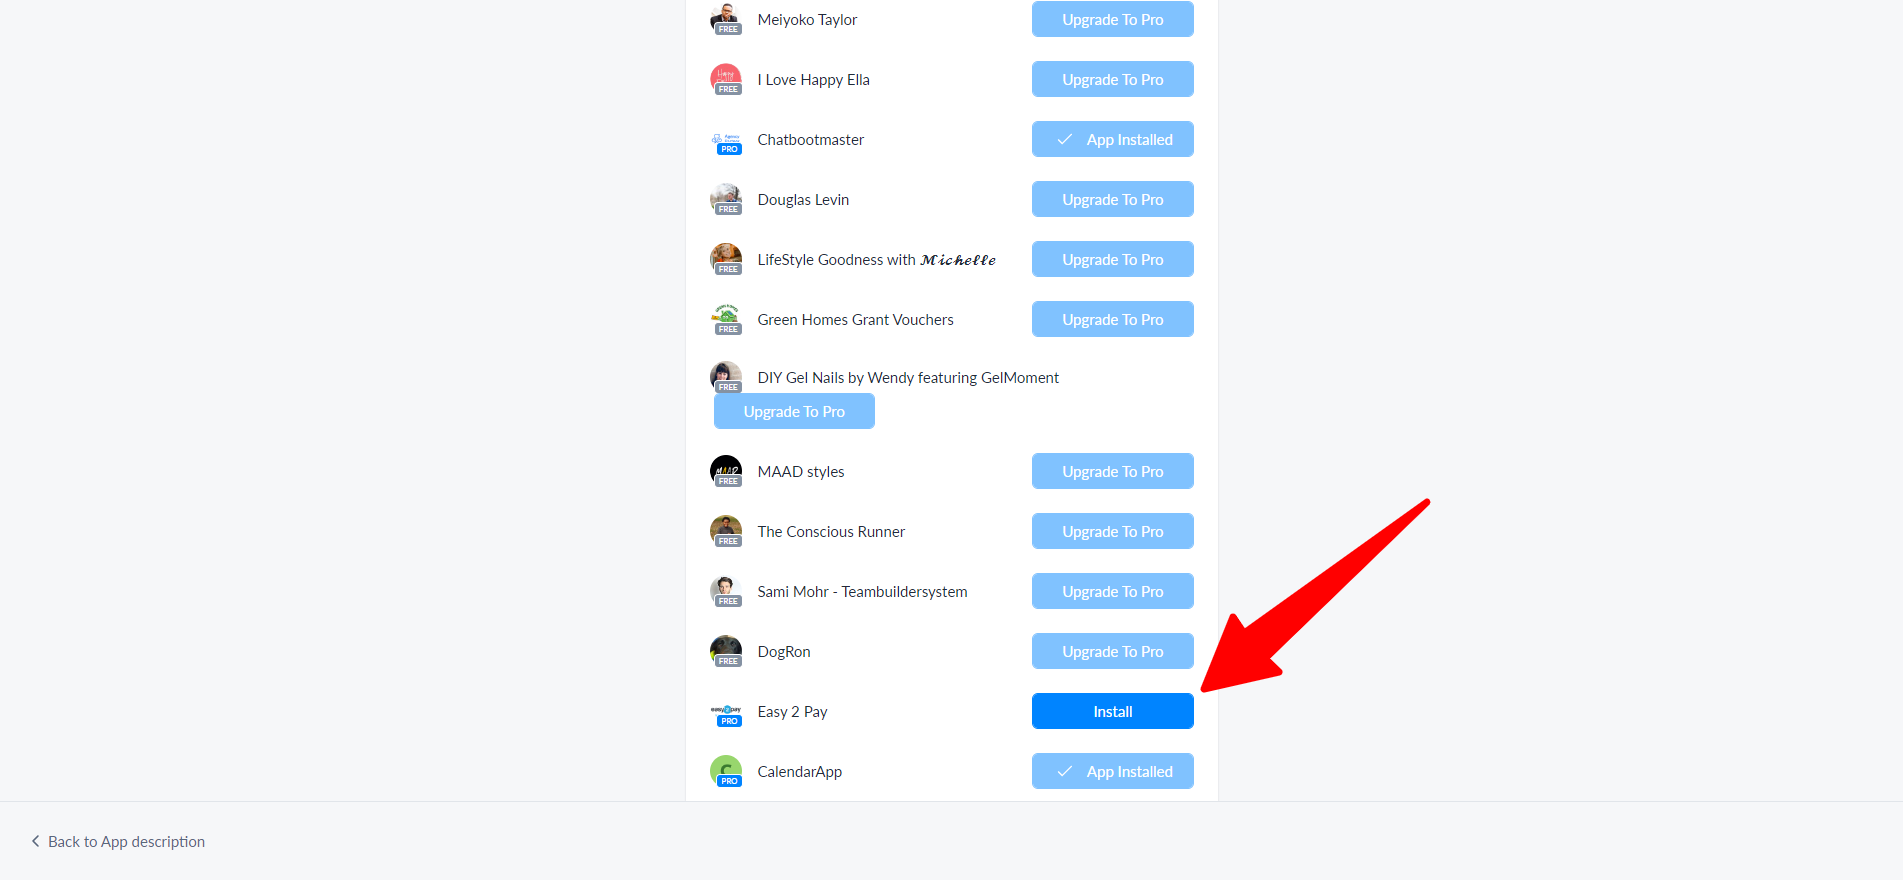
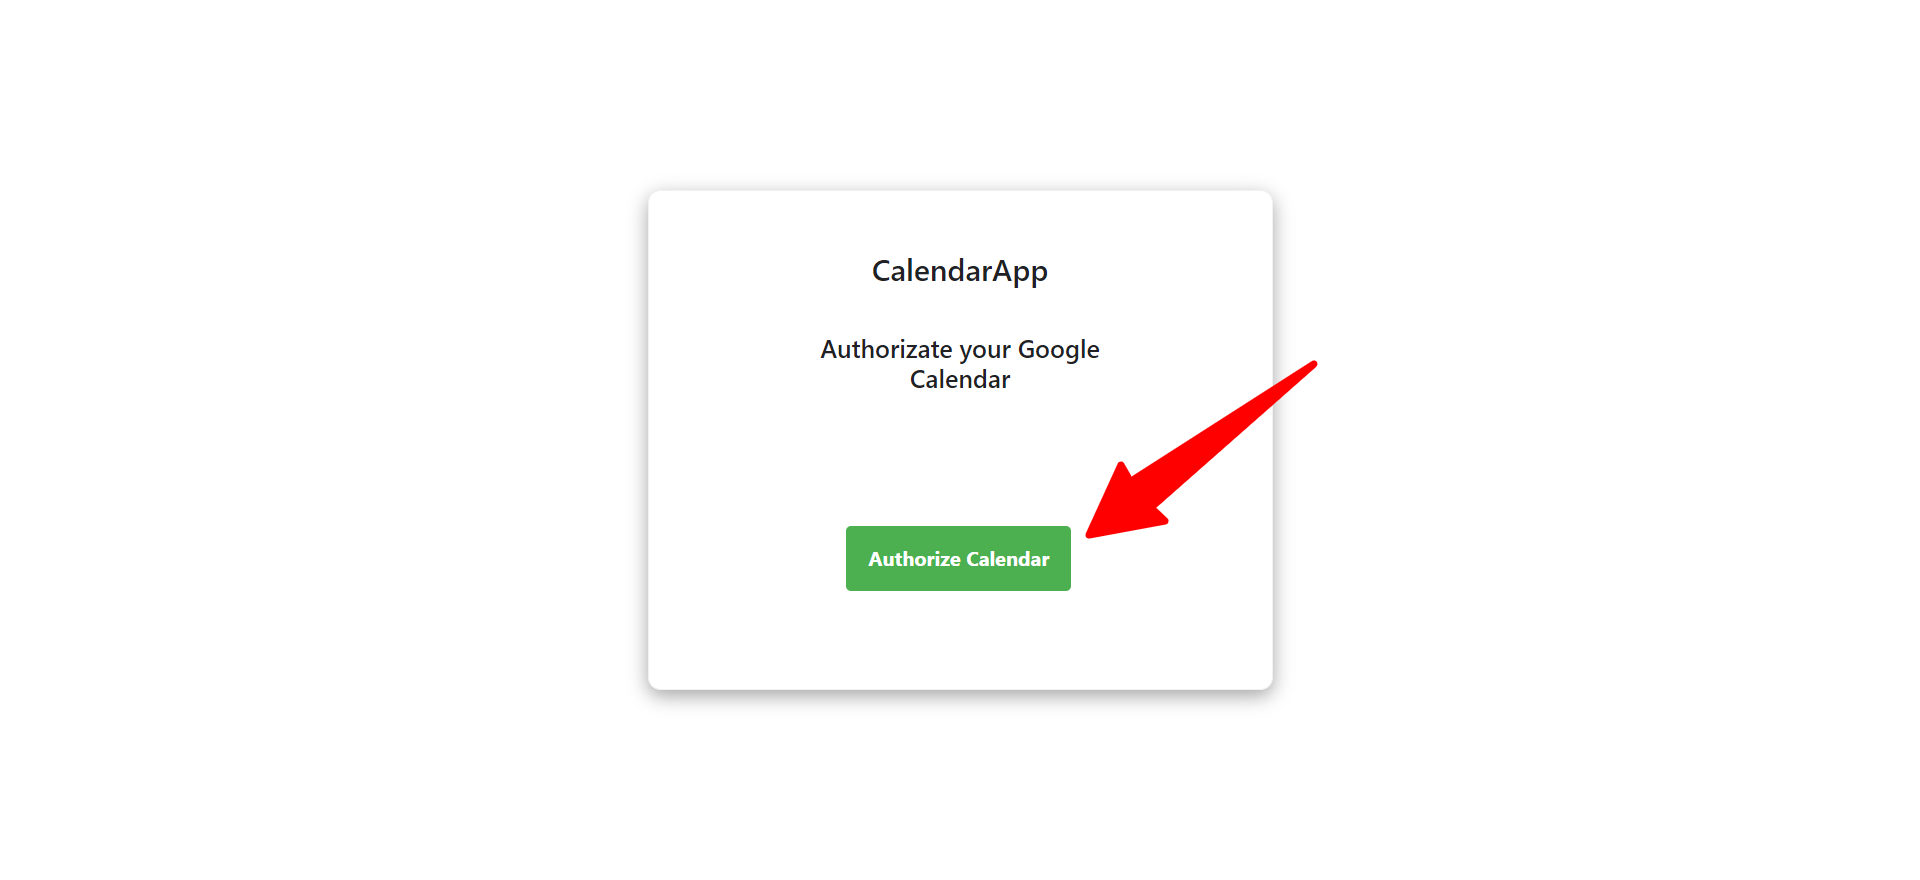
All you have to do is install the Manychat App and connect your Google Calendar with the CalendarApp. Then, you are ready to schedule appointments on all social media channels.
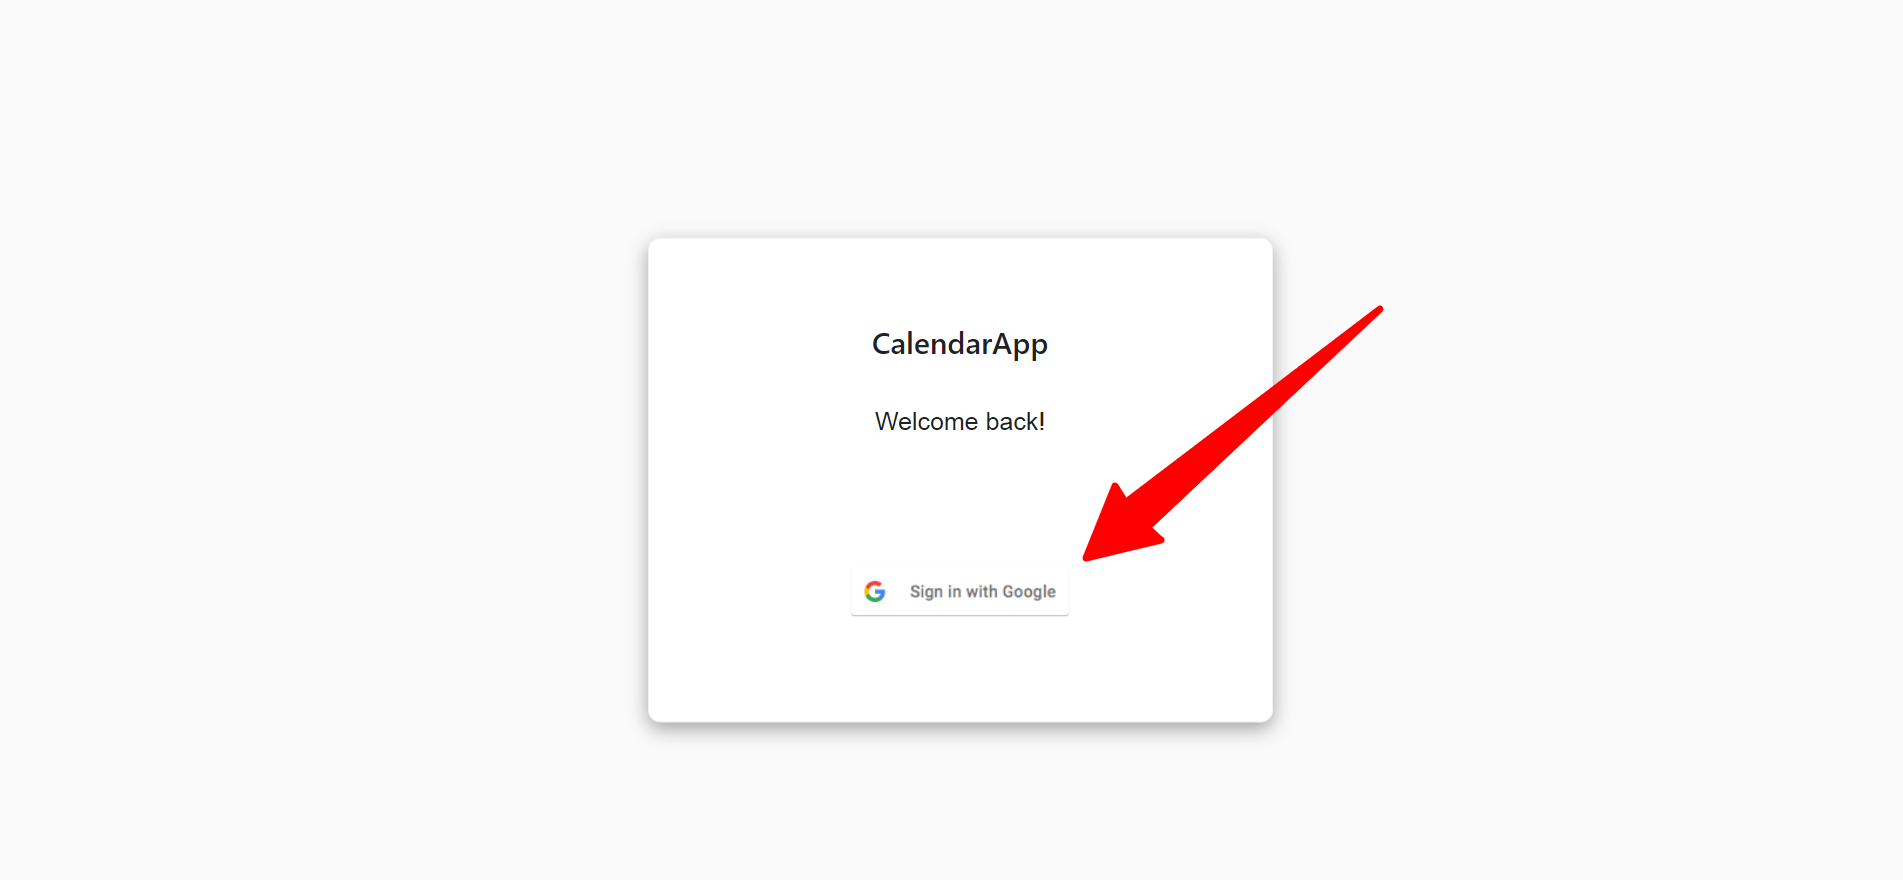
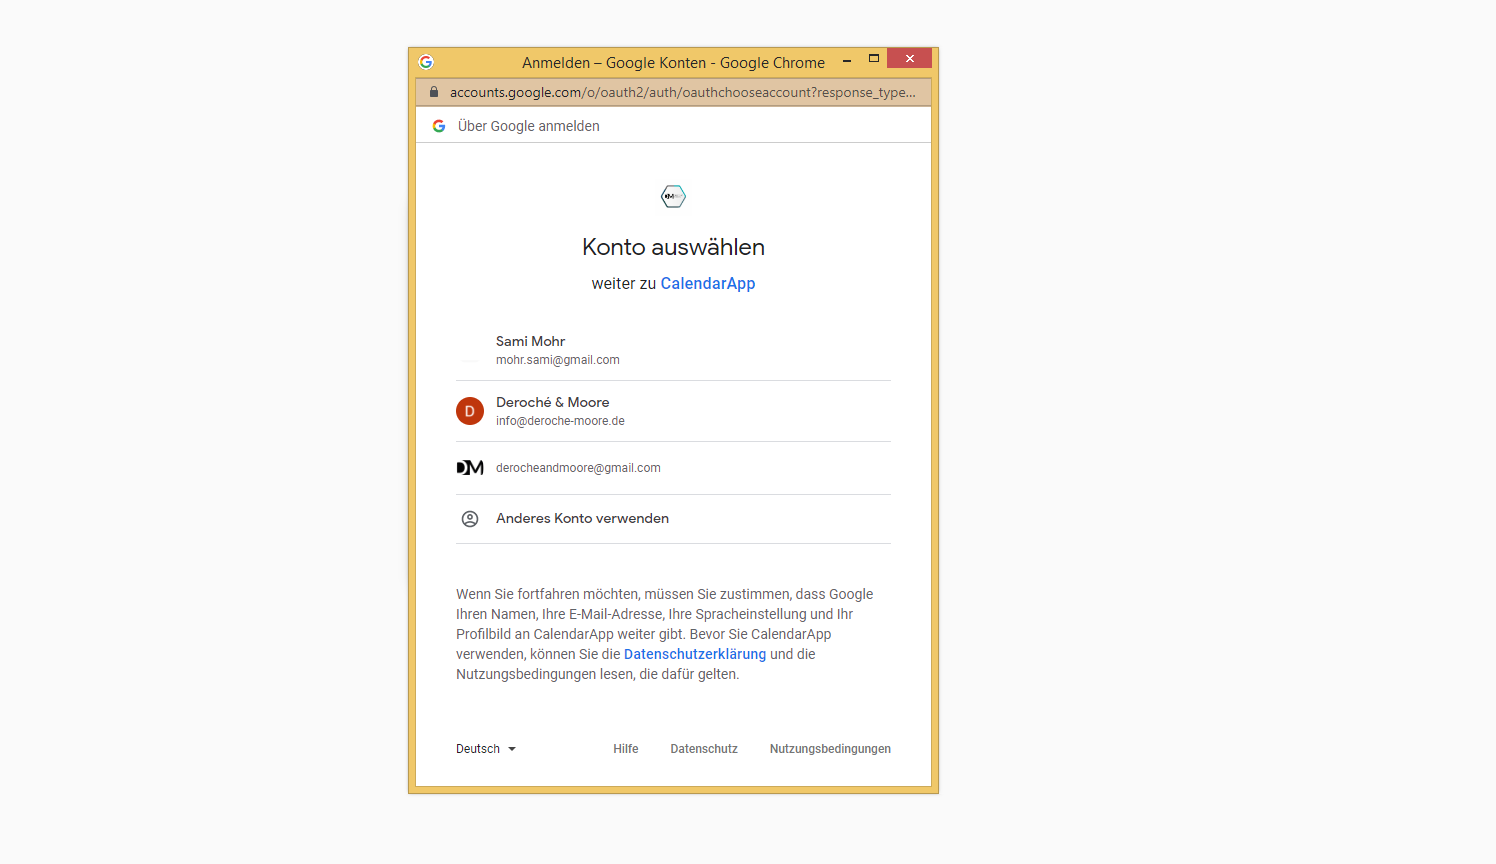
On success you will be redirected to your personal credentials page which presents you with your unique Member ID and API Token.
Keep your API Token safe from anyone at all times.It’s highly confidential.
Copy and paste Member ID and API Token to the according fields in the Manychat settings. Then, click Save.
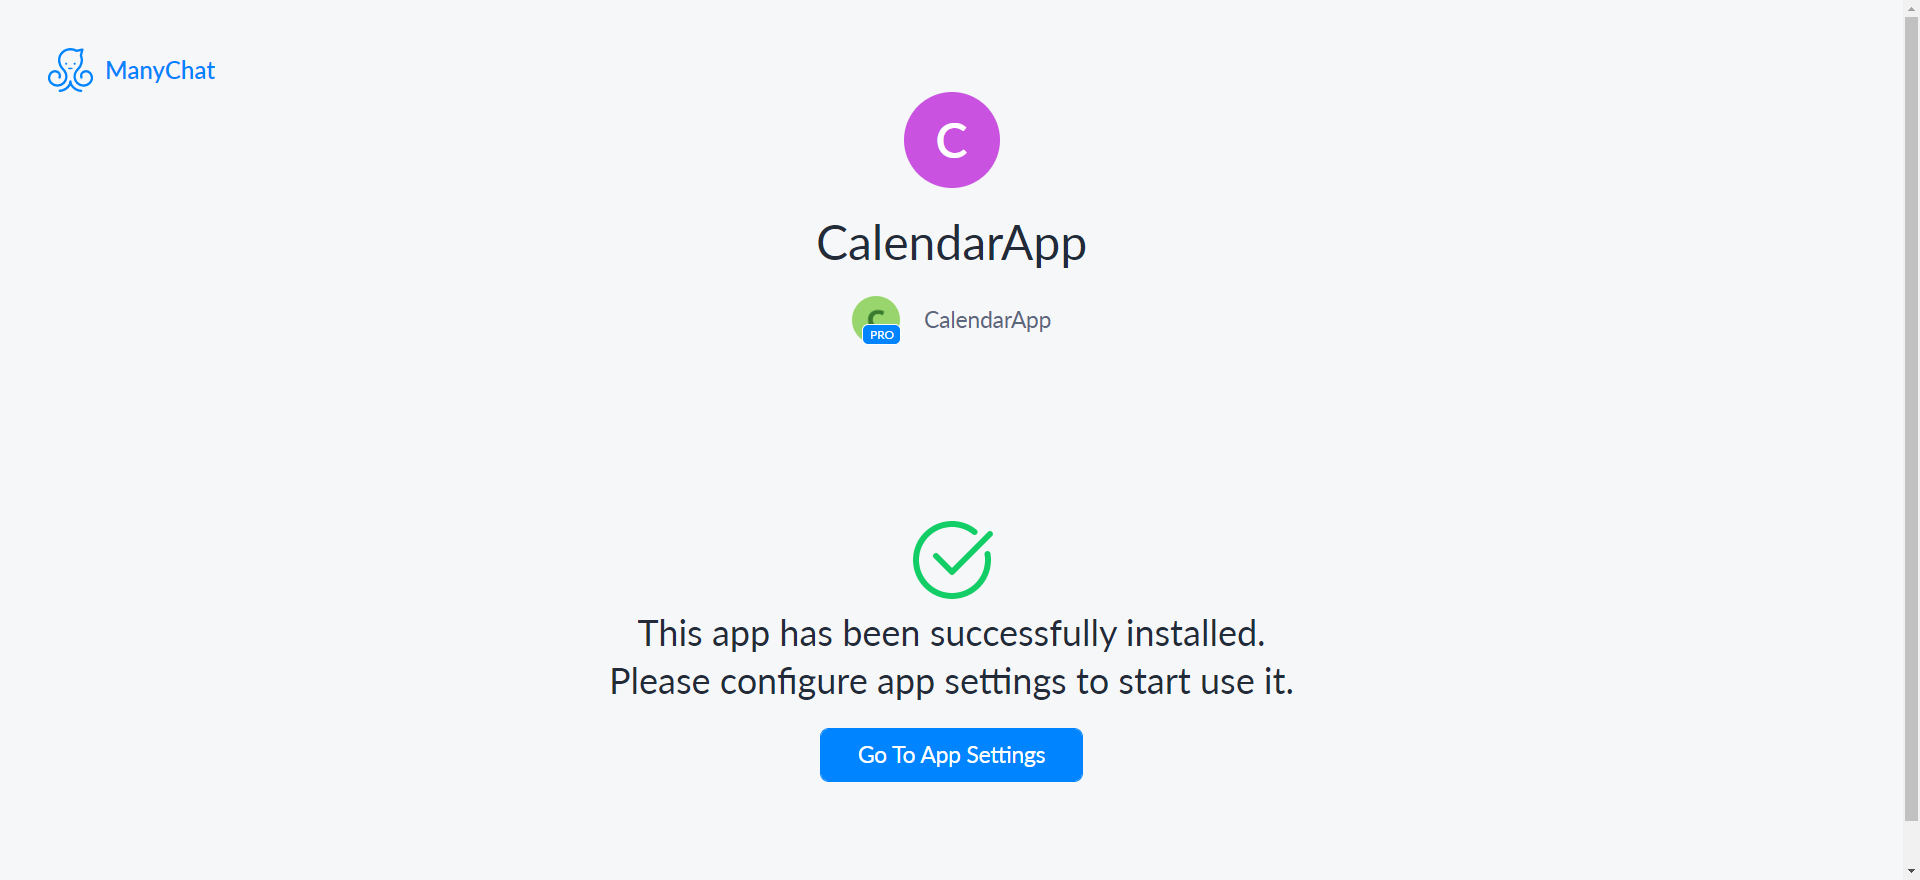
Well done! You have successfully connected Manychat and the CalendarApp.
Optionally but highly suggested you can install a ready to use template that we created for you. The template helps you to reduce the amount of work you have to do to build your conversation significantly. When using it all you need to do is selecting the correct events (can you read more here).
3. Install the Manychat Template “Starter Kit”
To install the template click the link and select your Manychat page.
You can now start building events and receive bookings for your business in a conversational fashion. View the next article to learn how to build your first event or read how other businesses use the CalendarApp to increase sales, automate their workflows and make their customers happy.