


In most cases your booking process starts by a guest starting a chat with you using a conversation starter. Tapping on  Book a Table will prompt the user with a message to open the calendar by tapping the button.


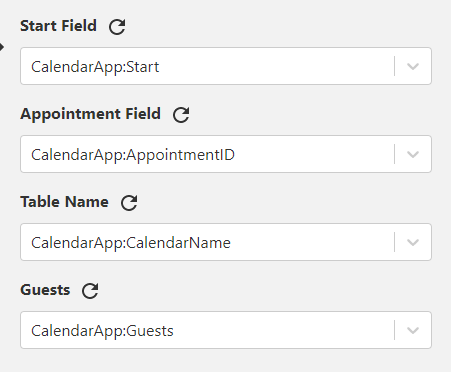
CalendarApp Calendar Settings
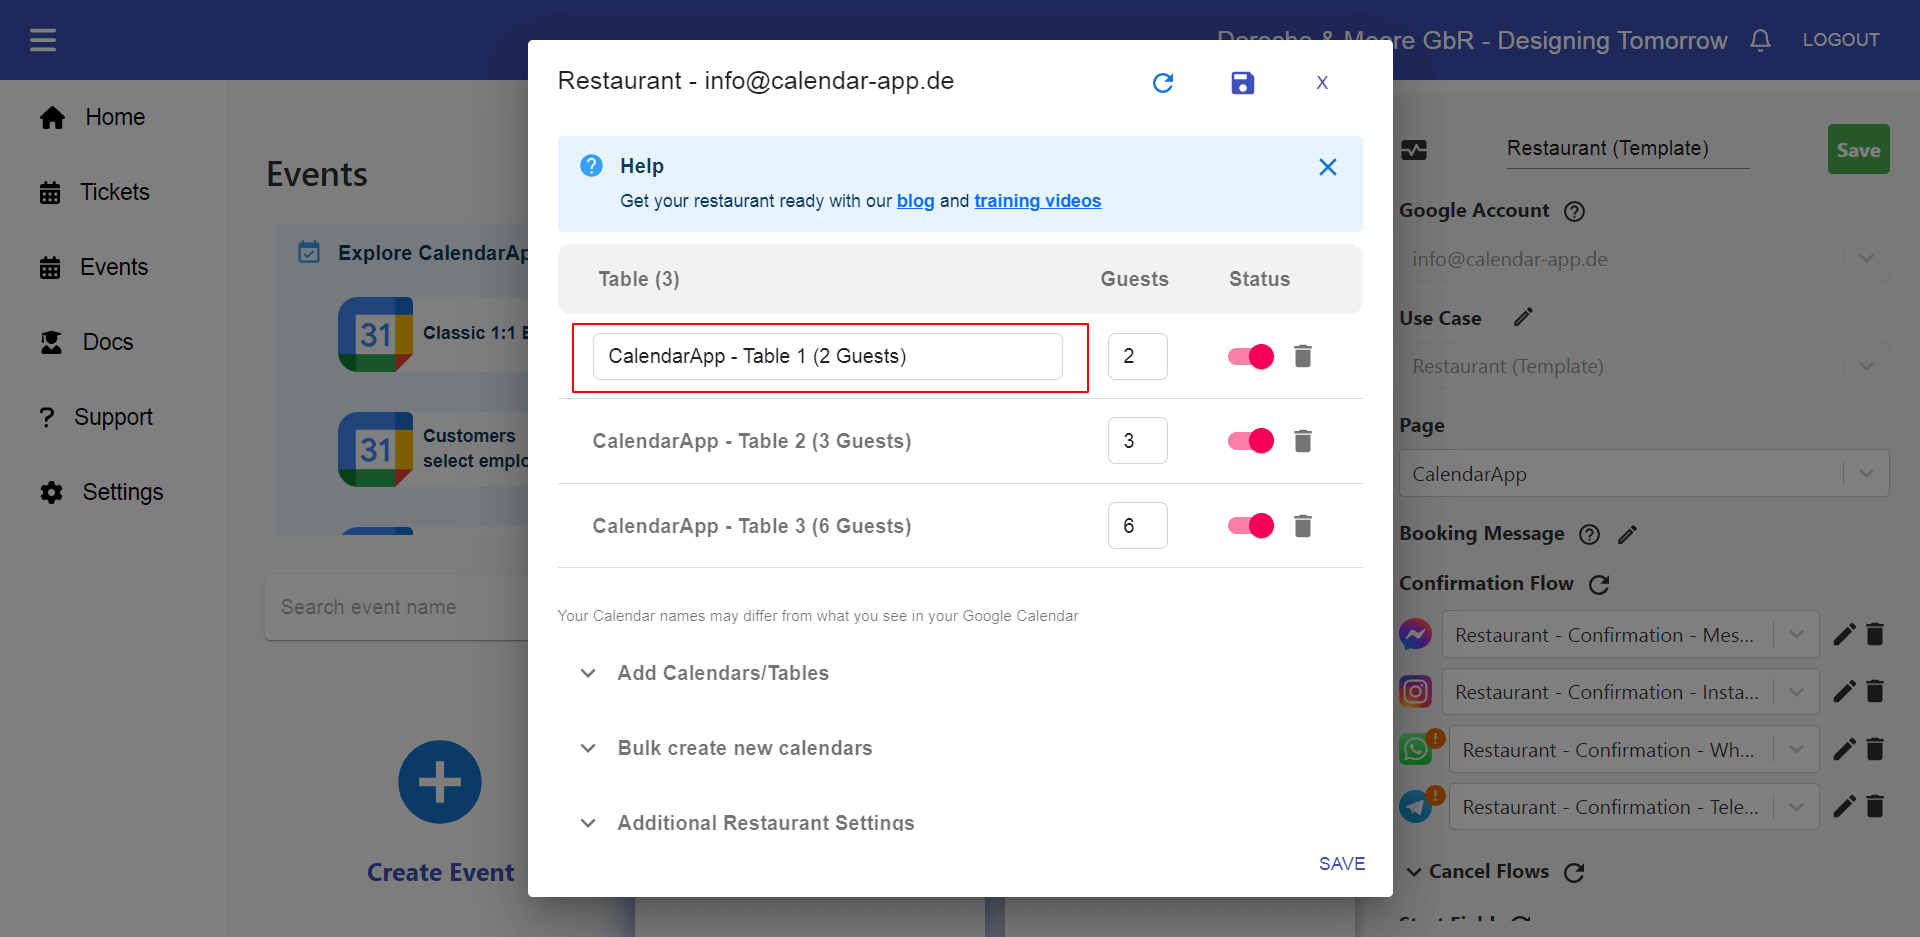
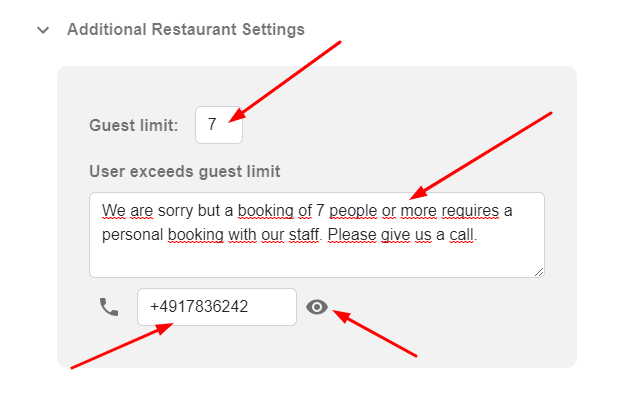
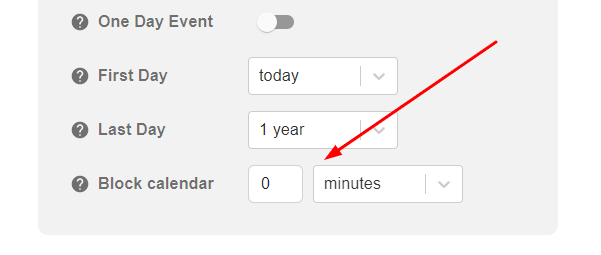
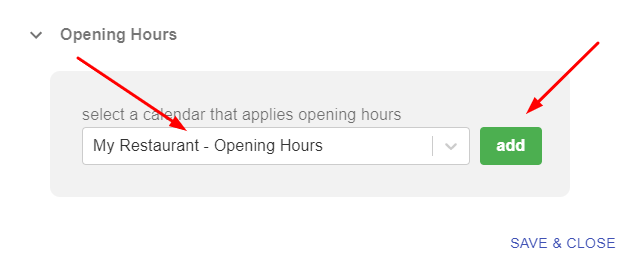
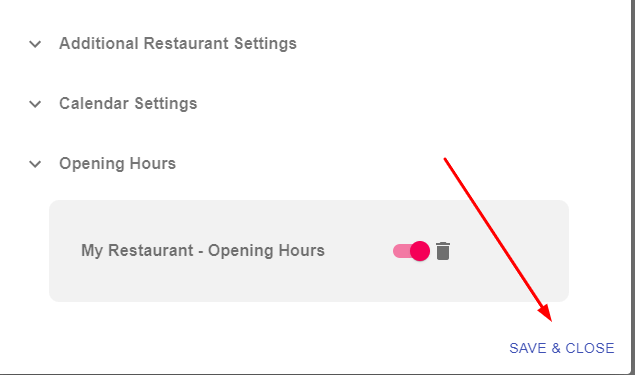
CalendarApp Calendar settings With the Calendar App you can adjust your calendar settings in a way that it suits your
Google Calendar
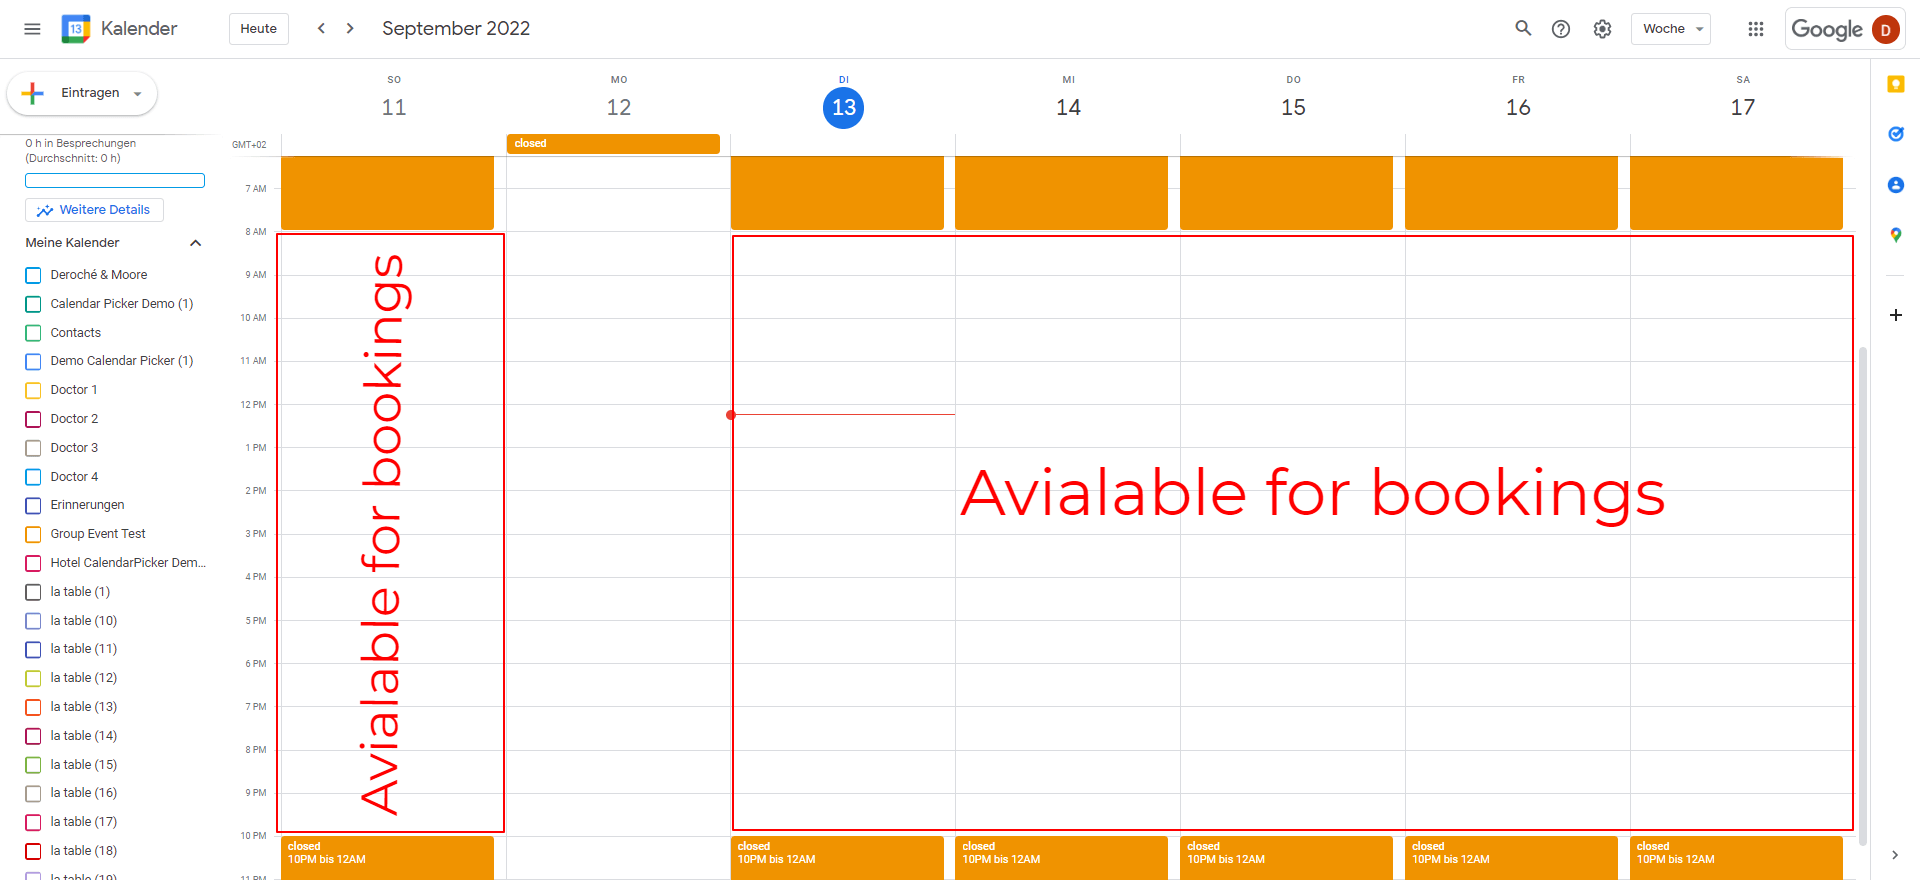
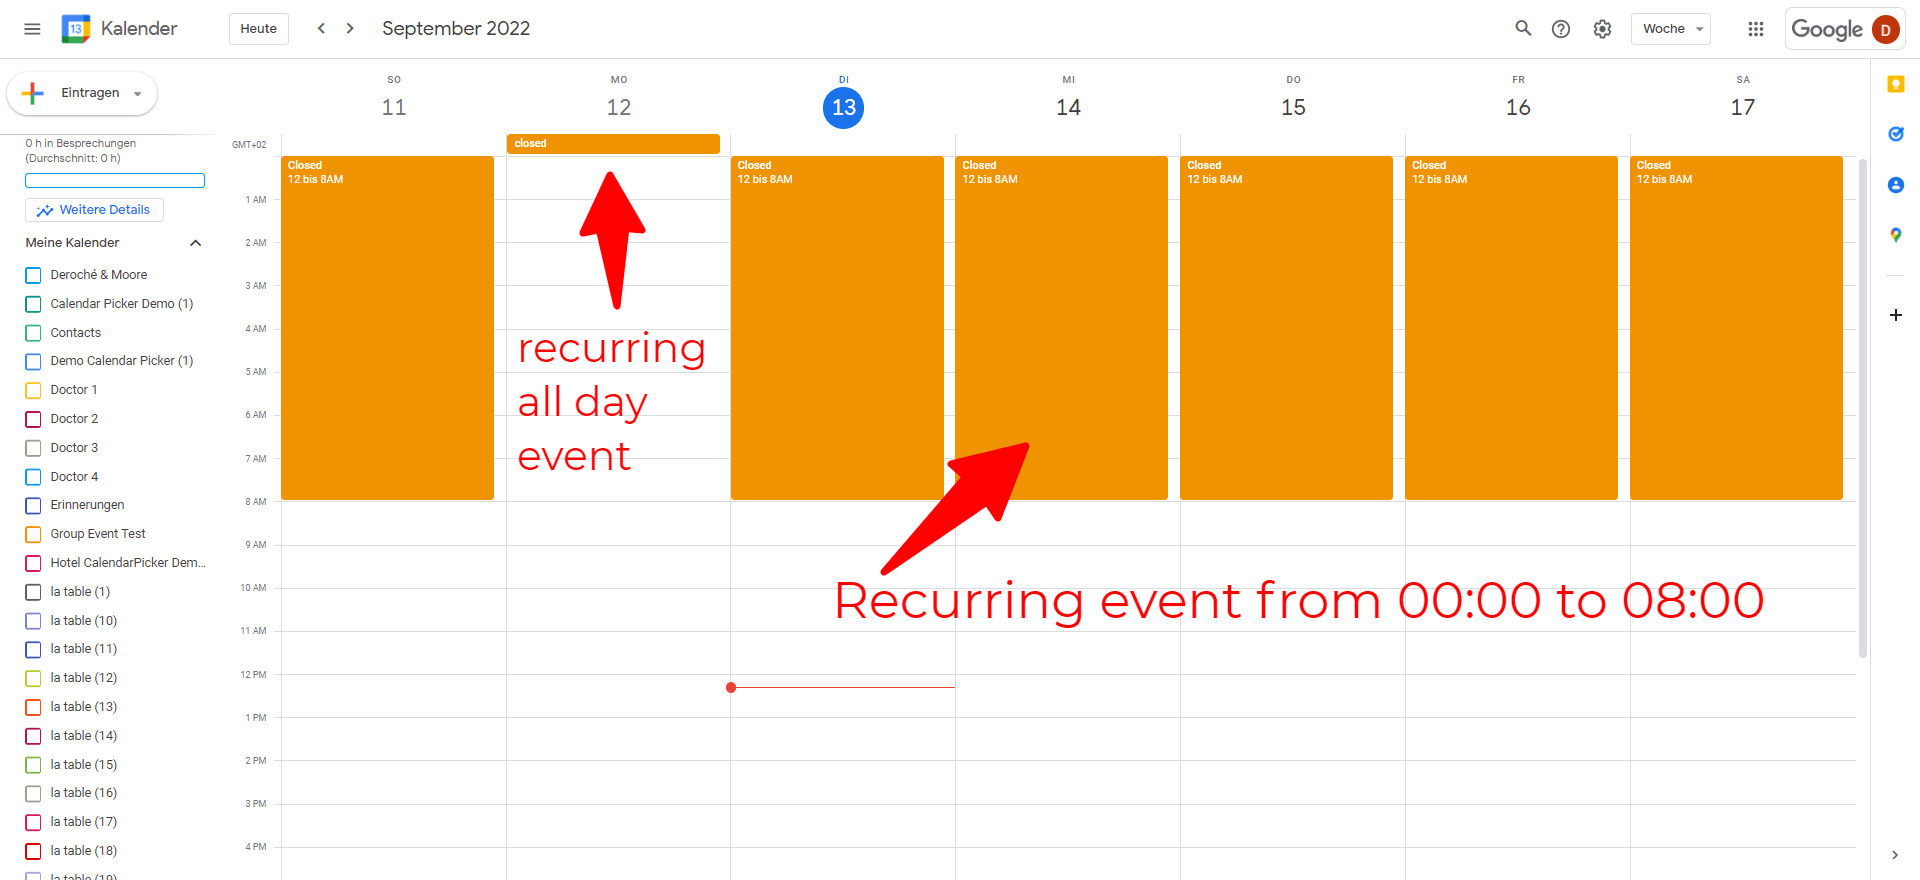
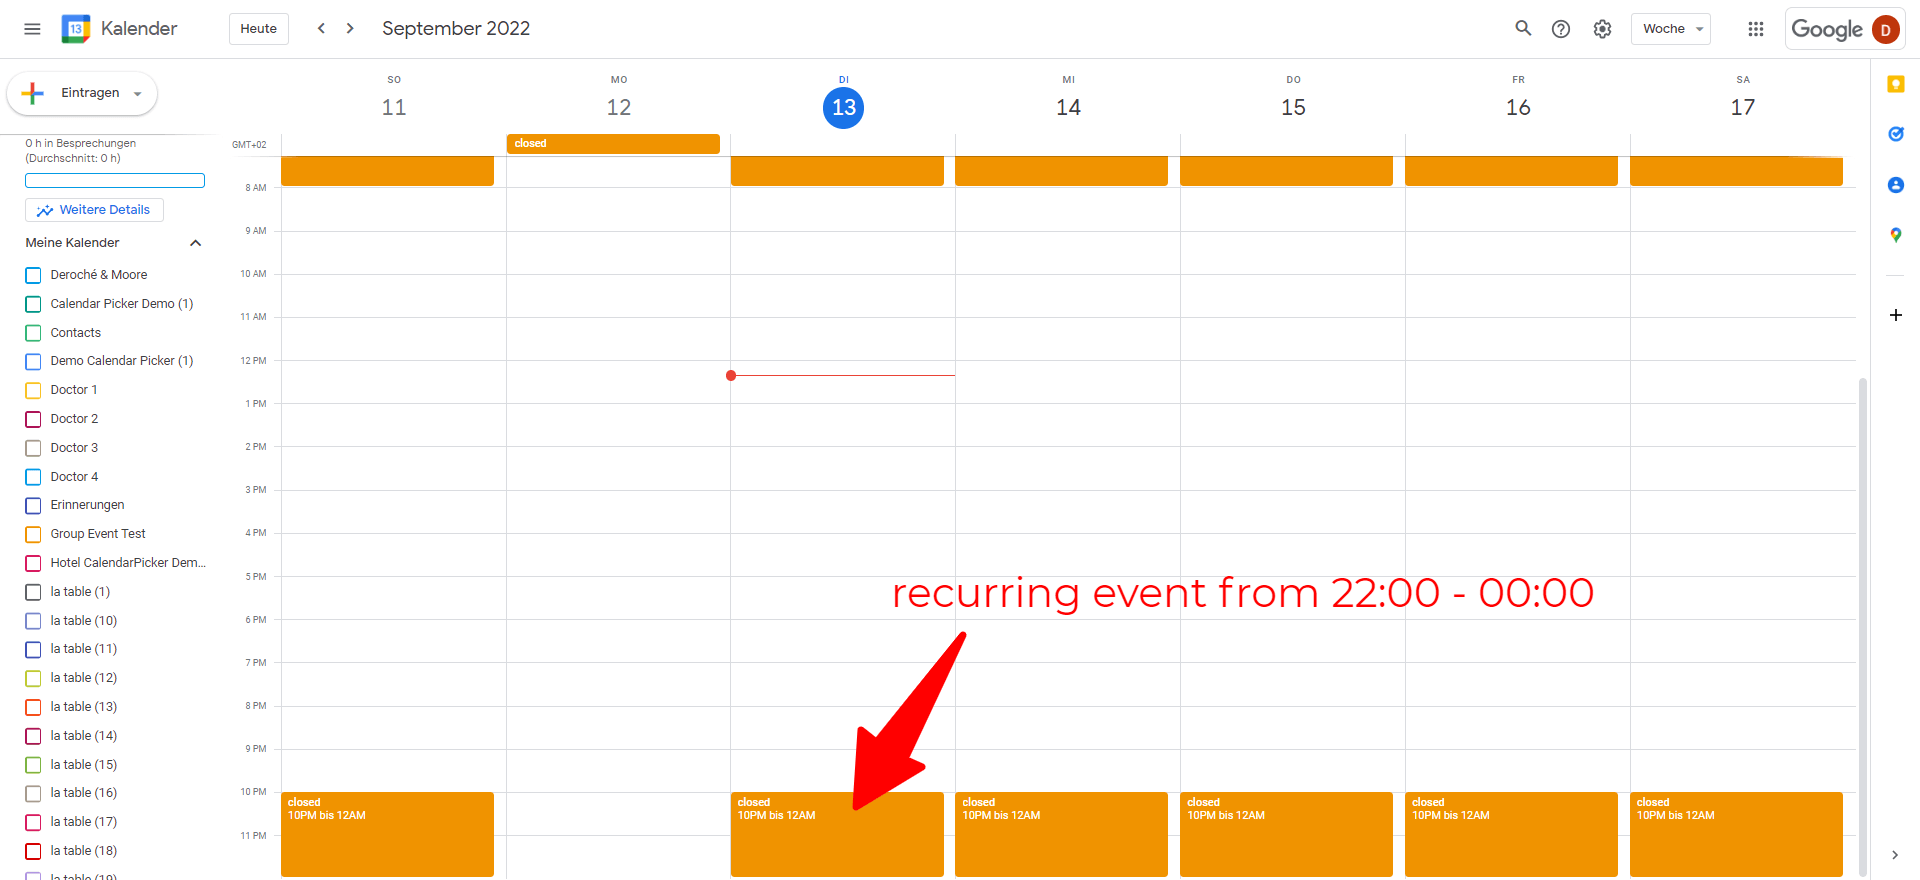
CalendarApp and Google Calendar The Google Calendar is with hundreds of millions of users worldwide the most popular online calendar. It’s
CalendarApp Webinar
Get more attendees for your Webinar with the CalendarApp The CalendarApp offers you a huge range of different use cases
Sharing a Google Calendar
Sharing a Google Calendar As a small business owner, you want to make sure your customers can easily book appointments