


In most cases your booking process starts by a guest starting a chat with you using a conversation starter. Tapping on  Book a Table will prompt the user with a message to open the calendar by tapping the button.


Sharing a Google Calendar
Sharing a Google Calendar As a small business owner, you want to make sure your customers can easily book appointments
STOP using Calendly Manychat Integration in 2023
STOP using Calendly Manychat Integration in 2023 Stop Using Calendly Manychat Integration in 2023: A Better Solution for Scheduling Appointments
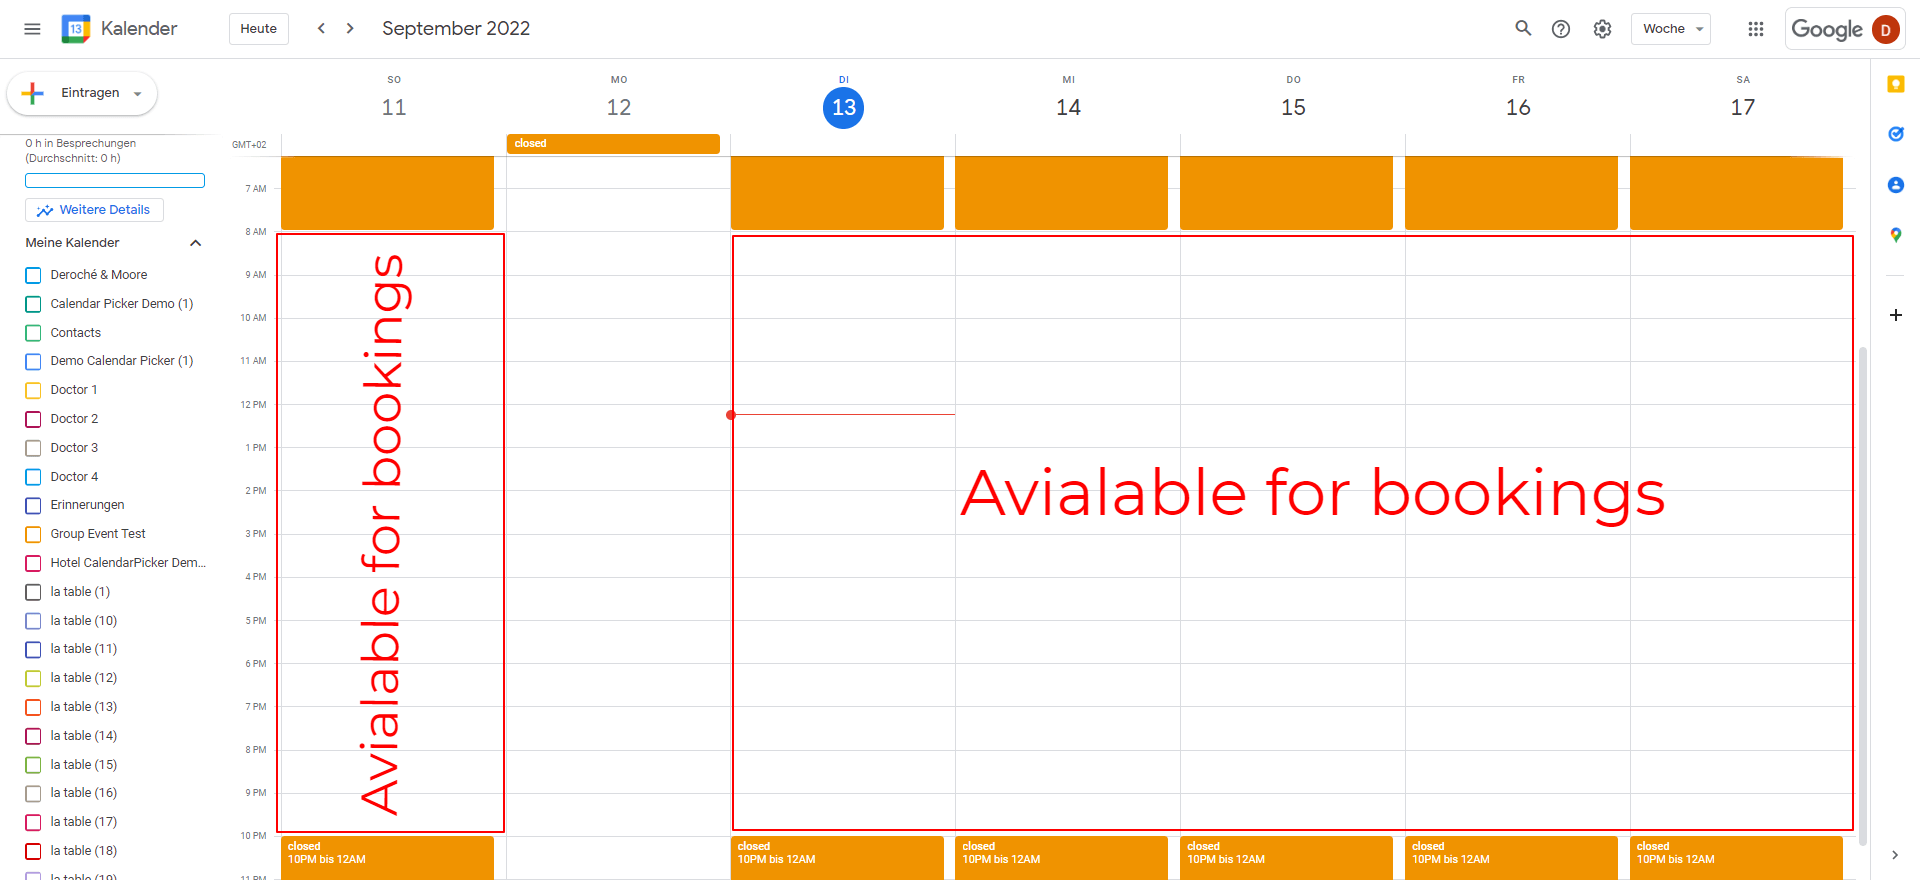
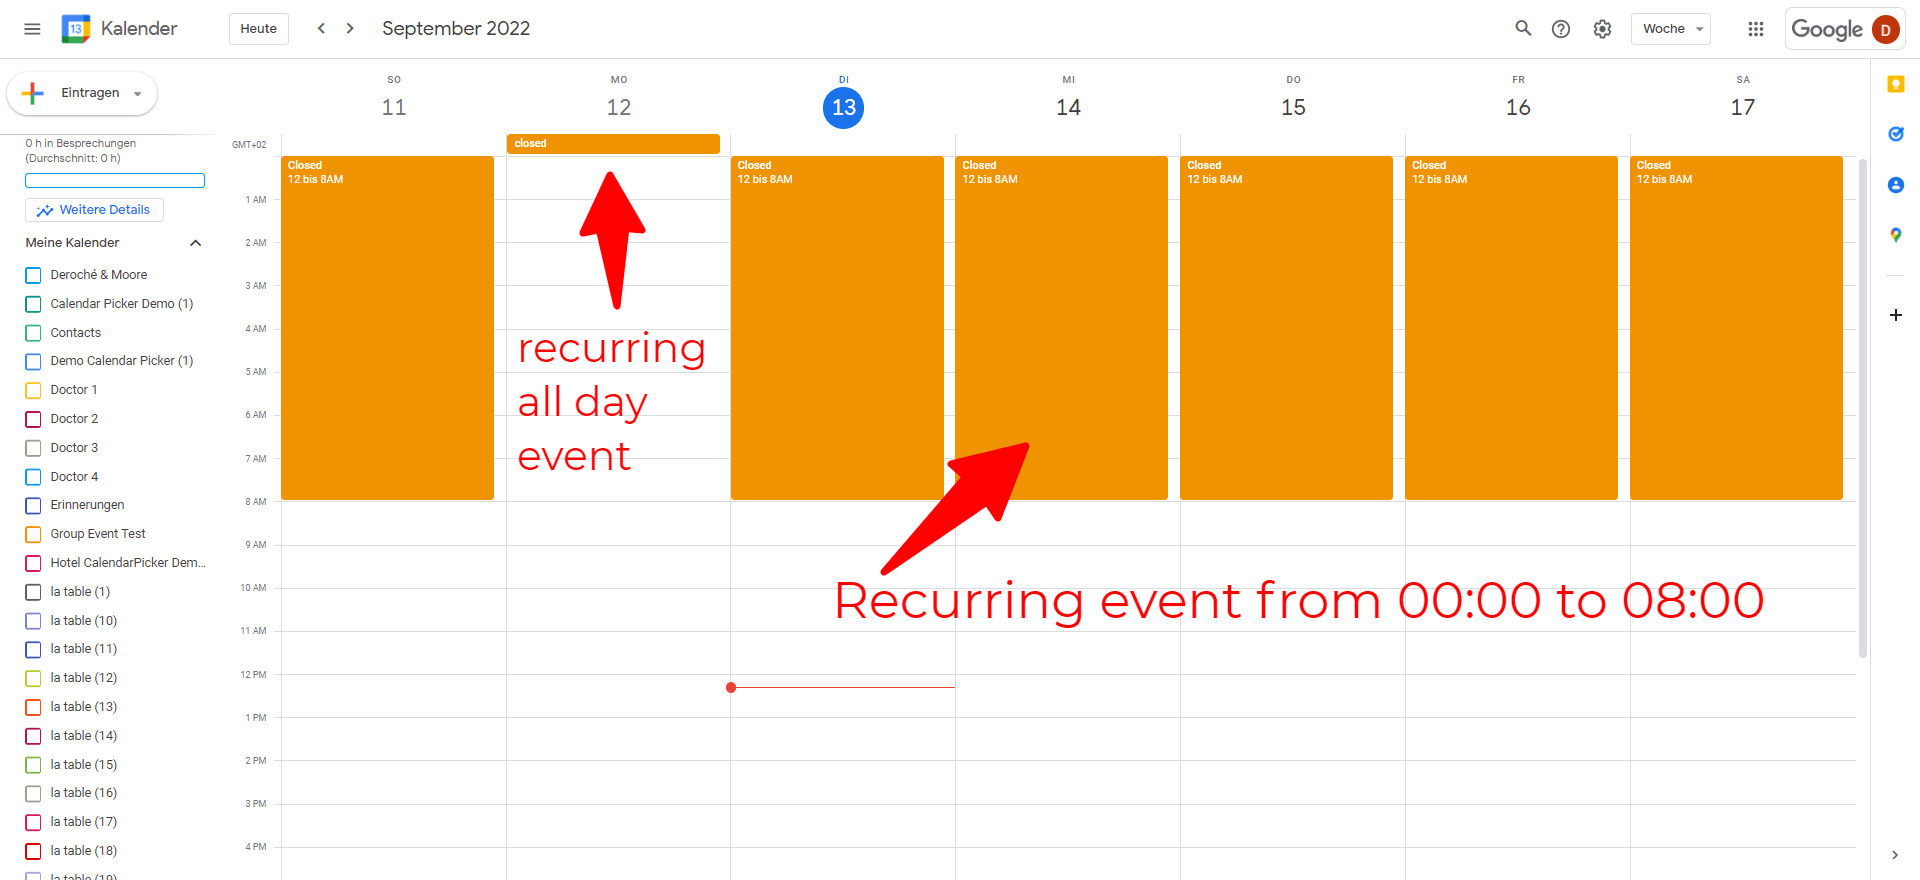
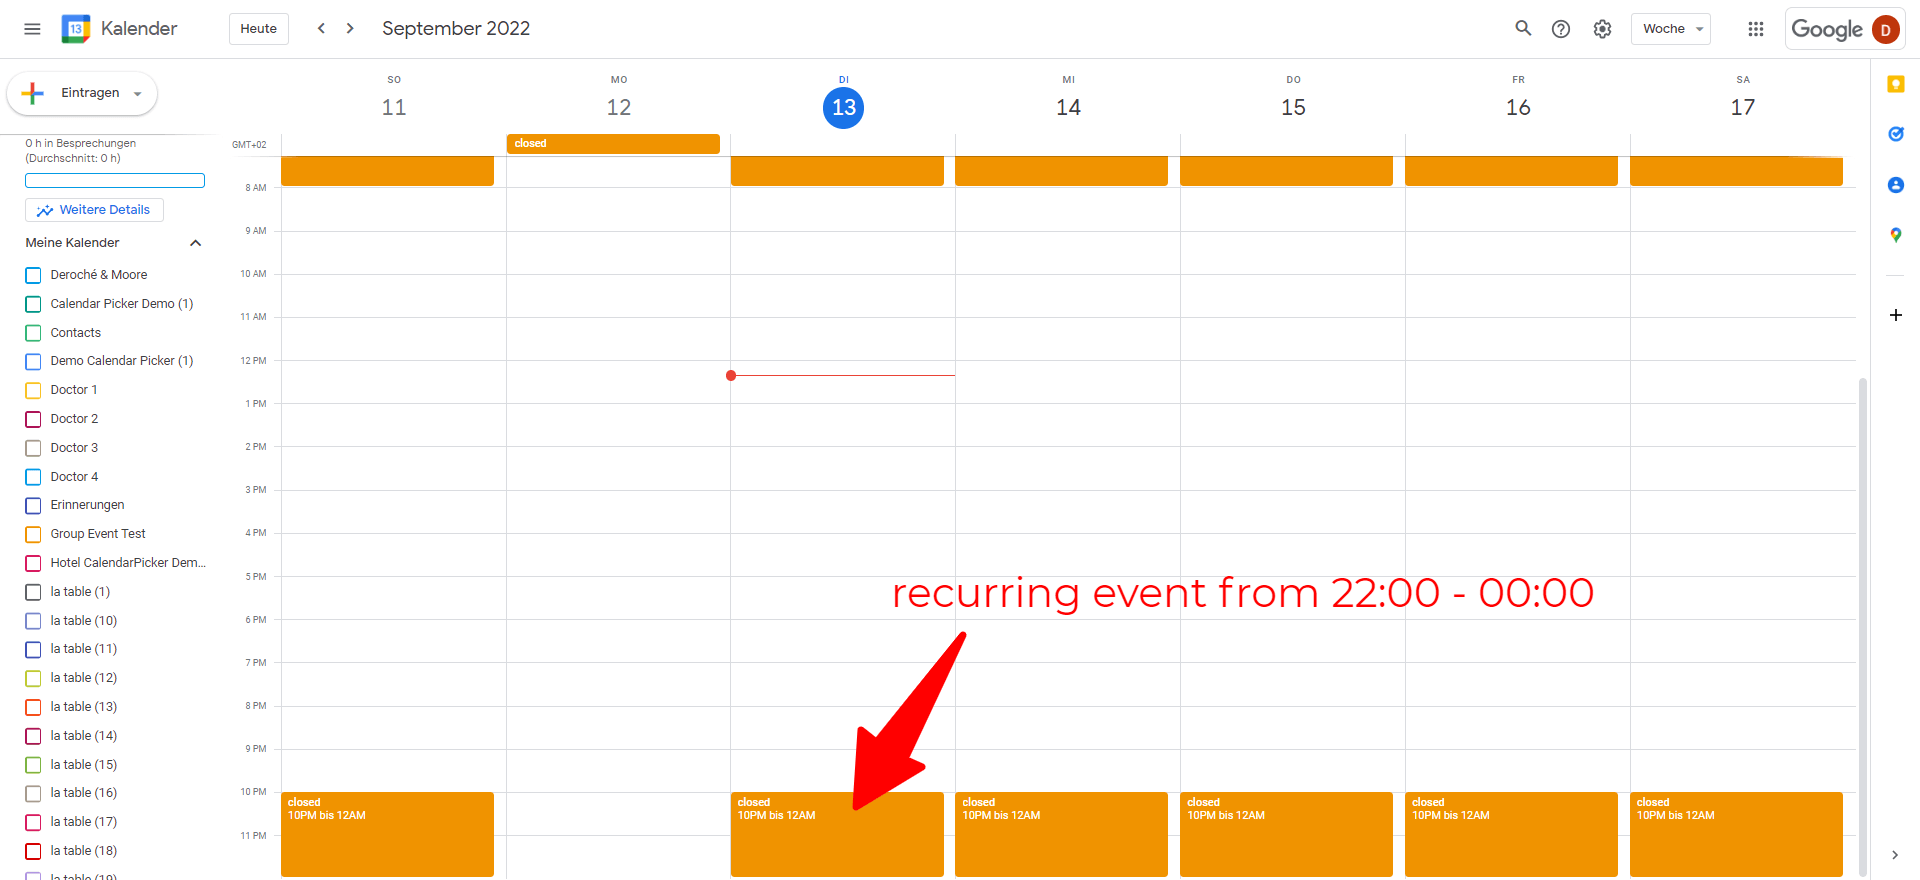
Google Calendar Irregular Repeating Events
Mastering Irregular Repeating Events in Google Calendar Irregular Repeating Eventsfor your Google Calendar are essential for both personal and professional success in
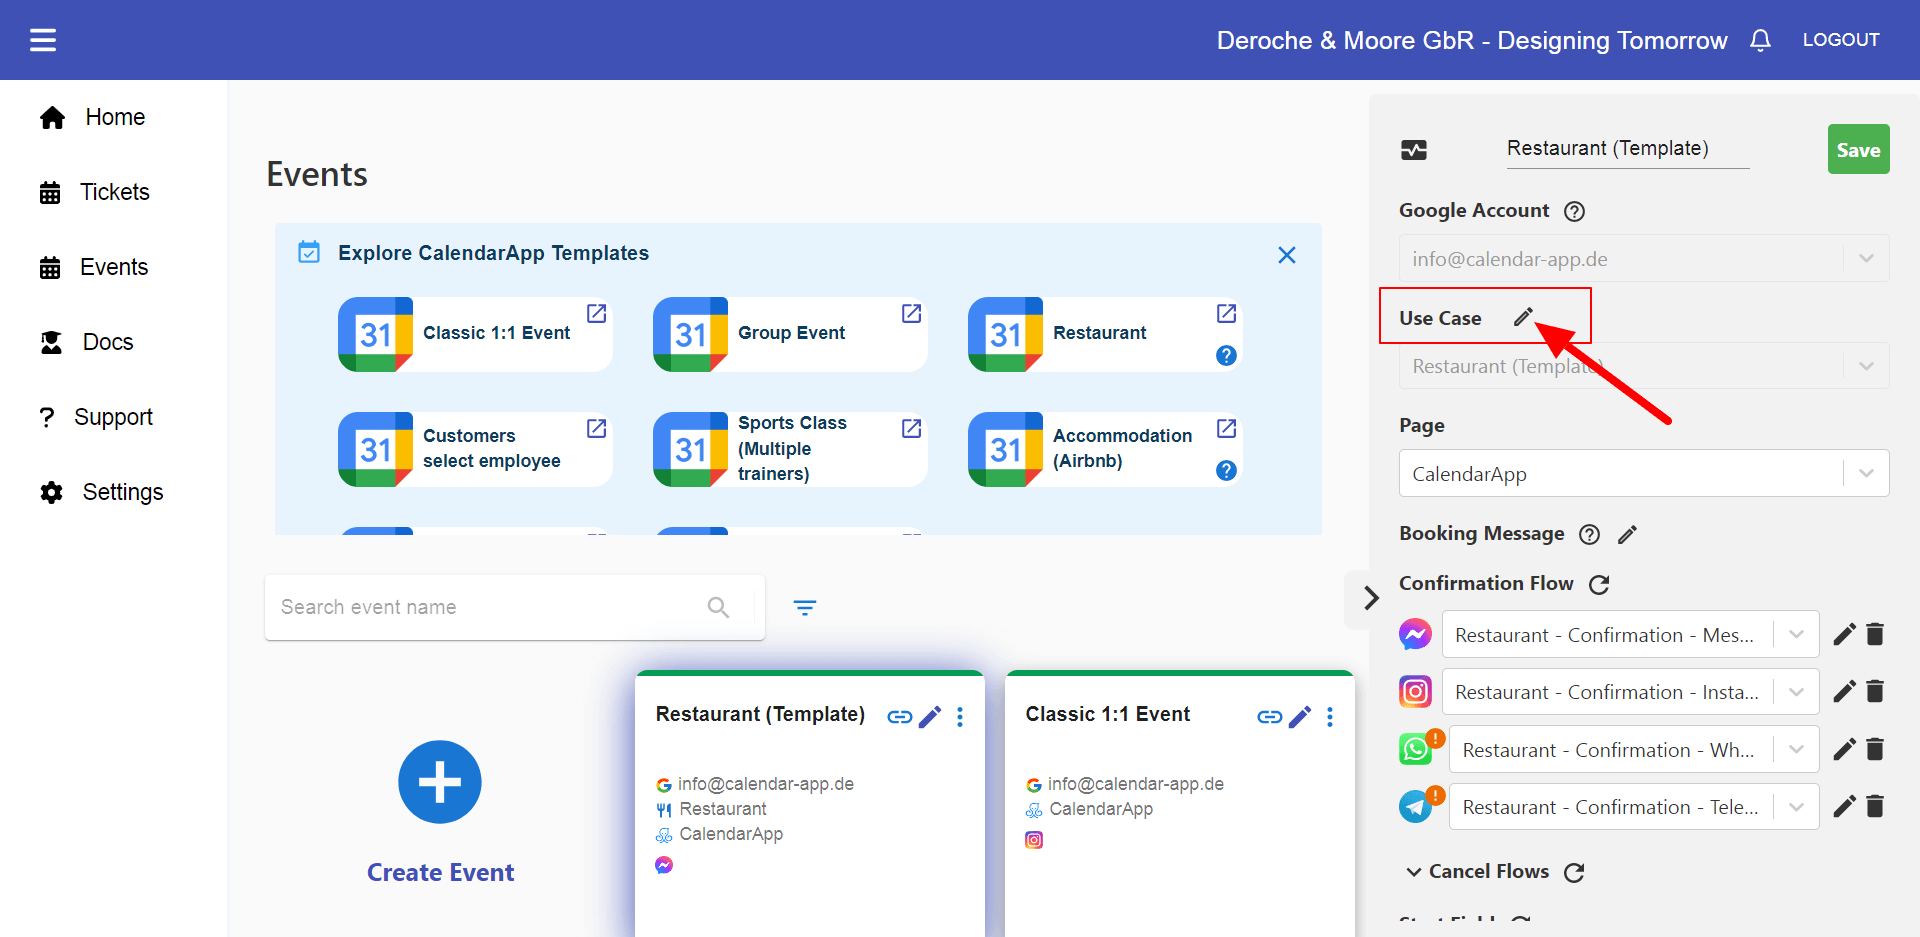
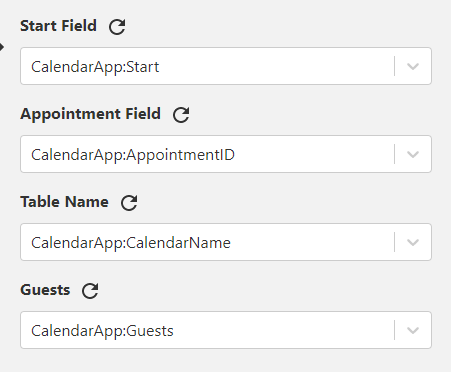
Get started with the CalendarApp
Get Started with the CalendarApp Finally it’s here: a Manychat App that lets you schedule appointments across all channels using
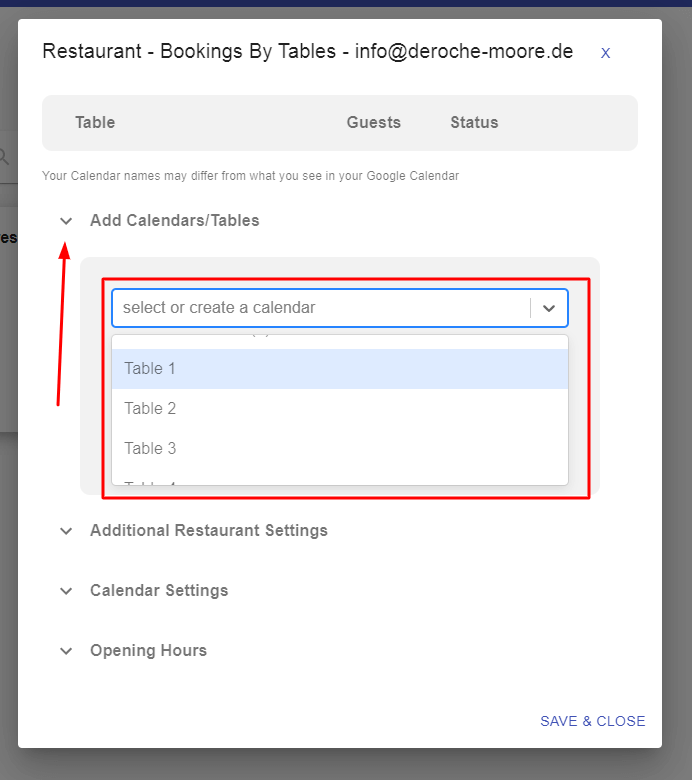
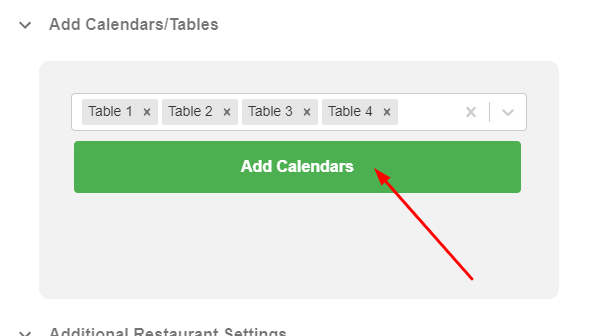
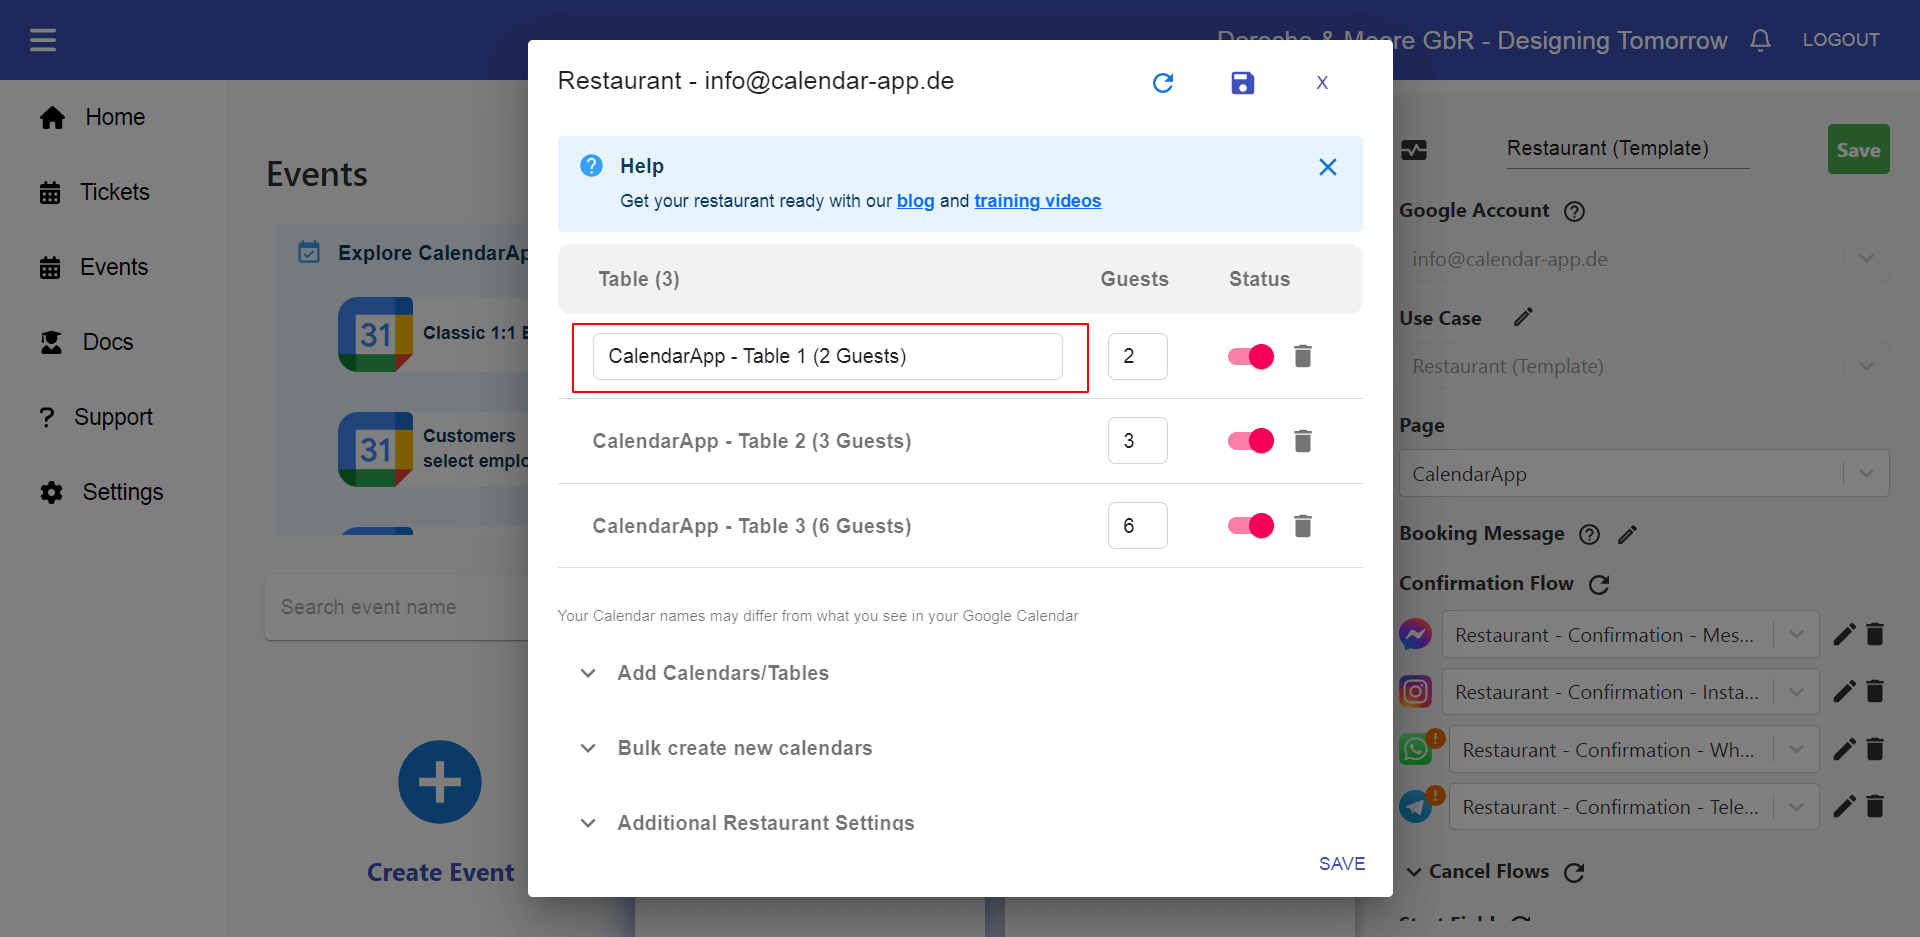
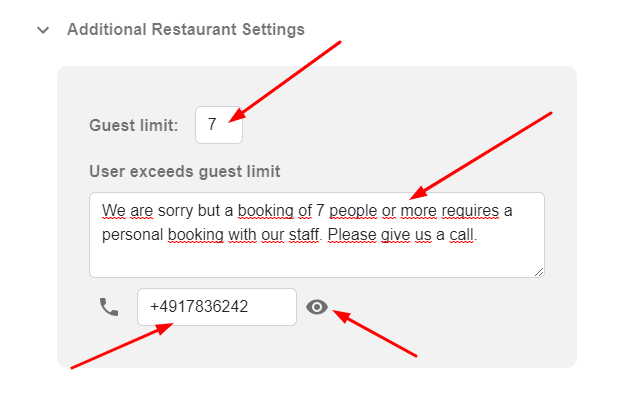
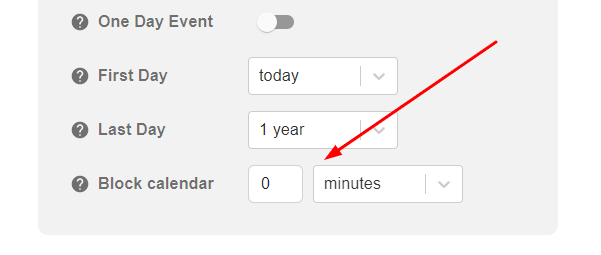
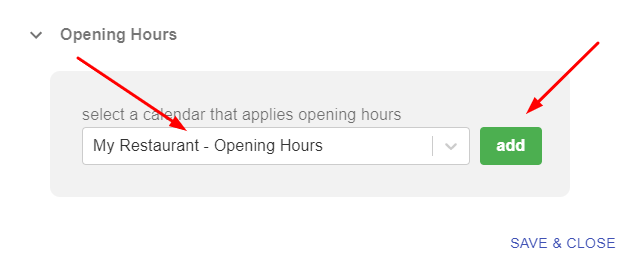
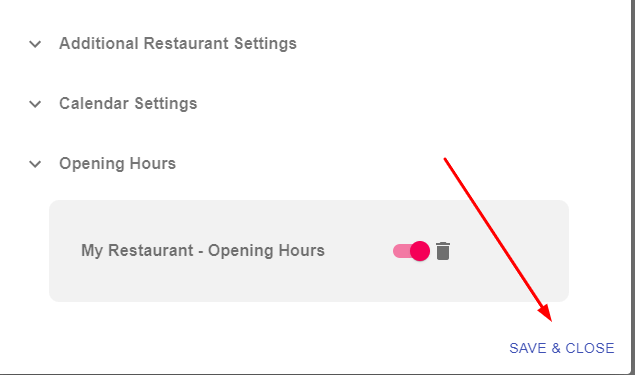
CalendarApp Calendar Settings
CalendarApp Calendar settings With the Calendar App you can adjust your calendar settings in a way that it suits your

Create Google Calendar
How to receive Google Calendar reminders Receiving Google Calendar reminders has become a must in our fast-paced world, juggling multiple